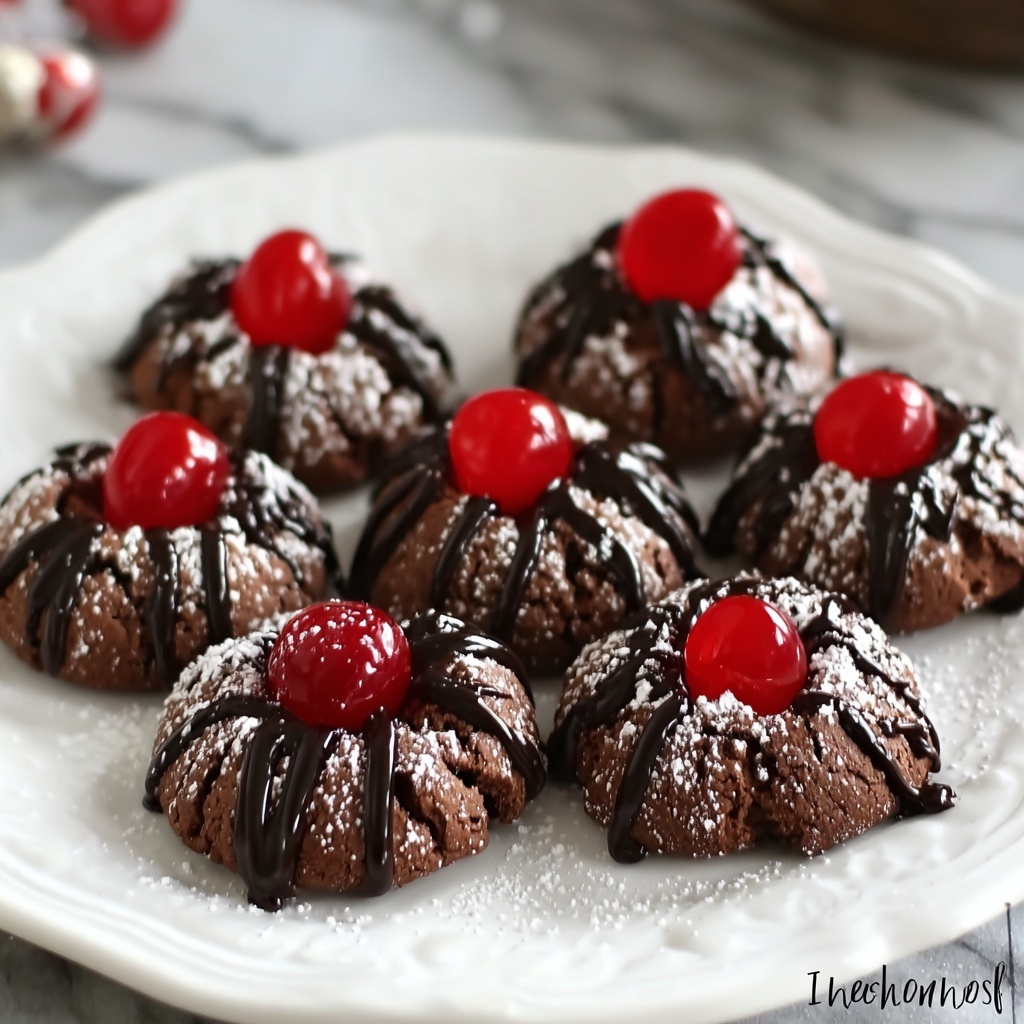
If you’re looking for a charming, sweet treat that combines buttery cookie bliss with a burst of fruity cherry and a smooth chocolate finish, look no further than this Chocolate-Covered Cherry Thumbprints Recipe. These delightful little cookies are perfect for celebrations, sharing with friends, or simply indulging whenever a craving strikes. The tender cookie base, luscious cherry preserves, and rich chocolate topping come together in perfect harmony, making each bite a joyful experience that’s hard to resist.
Ingredients You’ll Need
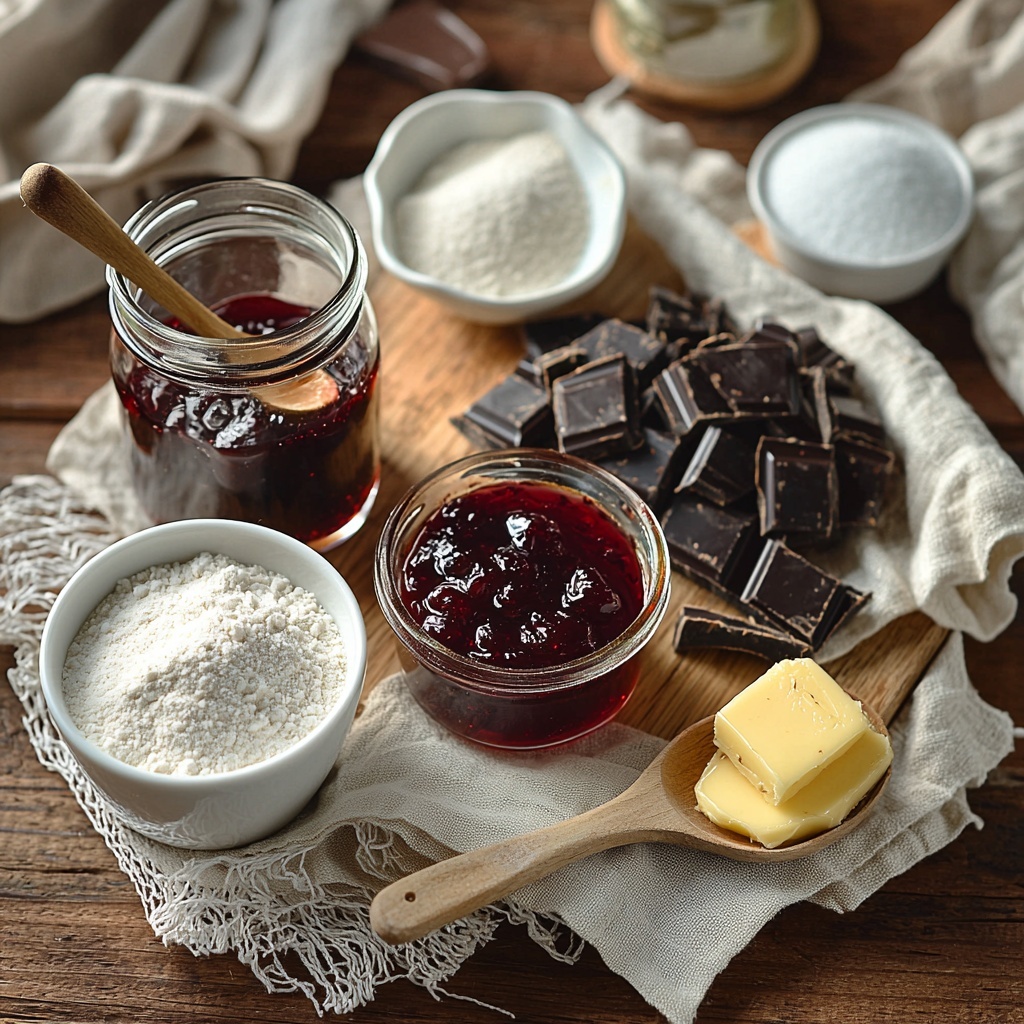
This Chocolate-Covered Cherry Thumbprints Recipe calls for a handful of simple, pantry-friendly ingredients that pack a lot of flavor. Each component contributes uniquely to the cookies’ texture and taste, whether it’s the buttery softness, the sweet cherry punch, or that glossy chocolate coating.
- 1 cup unsalted butter, softened: This is the rich, creamy foundation that makes the cookies tender and melt-in-your-mouth delicious.
- 1 cup granulated sugar: Adds just the right amount of sweetness to balance the buttery dough and tart cherry preserves.
- 1 teaspoon vanilla extract: Enhances the overall flavor with a warm, fragrant note.
- 2 cups all-purpose flour: The backbone of the cookie, providing structure and that classic crumbly texture.
- 1/4 teaspoon salt: A tiny pinch that amplifies all the sweet elements and keeps the flavors bright.
- 1/2 cup cherry preserves: The jewel-like filling that delivers a burst of fruity sweetness and a gorgeous color contrast.
- 8 ounces semisweet chocolate, chopped: For dipping the cookie tops, this gives a rich finish that’s both smooth and slightly bittersweet.
- 2 tablespoons shortening: Helps the chocolate coating stay silky and easy to dip without seizing.
How to Make Chocolate-Covered Cherry Thumbprints Recipe
Step 1: Prepare the Dough
Start by preheating your oven to 350°F (175°C). In a large bowl, cream together the softened butter and granulated sugar until the mixture is light and fluffy—this takes a few minutes but is key for that tender bite. Then, beat in the vanilla extract to infuse the dough with that irresistible warmth.
Step 2: Combine Dry Ingredients
Next, gently mix the all-purpose flour with the salt. Gradually add this dry mixture to your butter and sugar combo, stirring until everything is just combined. Avoid over-mixing to keep your cookies tender and soft rather than tough.
Step 3: Shape the Thumbprints
Roll the dough into 1-inch balls and arrange them evenly spaced on baking sheets. Now comes the fun part—use your thumb (or the back of a teaspoon) to create a small indentation in the center of each ball. This little well will cradle the cherry preserves beautifully.
Step 4: Fill and Bake
Fill each indentation with a small dollop of cherry preserves. Don’t be shy—this is where the cookie really shines! Bake these gems in the preheated oven for 15 to 18 minutes, or just until the edges start to turn a light golden color. This ensures a soft, buttery cookie that holds its shape perfectly.
Step 5: Melt and Dip in Chocolate
While the cookies cool, melt the semisweet chocolate and shortening together in a microwave-safe bowl. Use 30-second bursts, stirring in between until smooth and glossy. Dip the tops of the cooled cookies into the chocolate, letting the excess drip off before placing them on a wire rack to set. This step adds a silky, decadent layer that pairs so well with the cherry filling.
How to Serve Chocolate-Covered Cherry Thumbprints Recipe
Garnishes
These cookies are stunning as is, but you can take them to the next level by sprinkling finely chopped nuts or colorful sprinkles on the chocolate before it sets. A light dusting of powdered sugar right before serving also adds a pretty, snowy effect that makes them look extra festive.
Side Dishes
Looking to round out your dessert spread? Serve these thumbprints alongside a scoop of vanilla ice cream or a dollop of freshly whipped cream. They also pair wonderfully with a crisp cup of coffee or a delicate pot of tea, balancing the sweet richness with a bit of warmth and bitterness.
Creative Ways to Present
For a charming presentation, arrange these cookies on a tiered dessert tray or pile them in a decorative jar tied with a ribbon. They also make fabulous homemade gifts—package several in a pretty box or tin for friends and family, and watch their eyes light up with delight!
Make Ahead and Storage
Storing Leftovers
Once your Chocolate-Covered Cherry Thumbprints Recipe cookies have cooled completely, store them in an airtight container at room temperature. They stay fresh and delicious for 3 to 4 days, giving you plenty of time to enjoy their perfect softness and chocolaty goodness.
Freezing
If you want to save some for later, these cookies freeze well. Place them in a single layer on a baking sheet to freeze, then transfer to a freezer-safe container or bag. They’ll keep their flavor and texture for up to 3 months. Just thaw at room temperature before serving.
Reheating
To revive the soft texture and melt-in-your-mouth appeal, warm your cookies briefly in a low oven or microwave—about 10 seconds. Be careful not to overheat, so the chocolate topping stays perfectly glossy without melting away entirely.
FAQs
Can I use other preserves instead of cherry?
Absolutely! Raspberry, strawberry, or even apricot preserves make delightful alternatives, each bringing a unique flavor that works beautifully with the buttery cookie and chocolate.
What if I don’t have shortening for the chocolate coating?
You can substitute with a small amount of coconut oil or leave it out entirely, though shortening helps keep the chocolate smooth and prevents it from hardening too quickly.
Are these cookies gluten-free?
The classic recipe uses all-purpose flour, so they are not gluten-free. To make a gluten-free version, you can try a 1-to-1 gluten-free baking flour, but results may vary slightly in texture.
Can I make the dough ahead of time?
Yes! You can prepare the dough, shape the balls, and refrigerate them for up to 24 hours before baking. Just add a couple of extra minutes to the baking time if chilled.
Do these cookies keep their freshness if dipped in chocolate?
Yes, the chocolate coating actually helps seal in moisture, keeping the cookies tender while providing a nice crisp contrast on top. Just make sure to store them properly in an airtight container.
Final Thoughts
There’s something truly special about the combination of buttery shortbread, fruity cherry preserves, and rich chocolate—this Chocolate-Covered Cherry Thumbprints Recipe captures that magic perfectly. Whether you’re baking for a holiday, a party, or just because you want a sweet moment in your day, these cookies are sure to bring smiles. I can’t wait for you to try them and experience just how wonderfully simple ingredients can come together for a truly memorable treat!
Print
Chocolate-Covered Cherry Thumbprints Recipe
- Prep Time: 15 minutes
- Cook Time: 18 minutes
- Total Time: 38 minutes
- Yield: 24 servings
- Category: Dessert
- Method: Baking
- Cuisine: American
Description
Delightfully buttery and sweet, these Chocolate-Covered Cherry Thumbprints combine tender cookie dough with a dollop of cherry preserves and a decadent chocolate coating. Perfect for holiday gifting or a charming dessert tray, these cookies offer a balance of fruity and chocolatey flavors with a melt-in-your-mouth texture.
Ingredients
For the Cookie Dough
- 1 cup unsalted butter, softened
- 1 cup granulated sugar
- 1 teaspoon vanilla extract
- 2 cups all-purpose flour
- 1/4 teaspoon salt
For the Filling and Topping
- 1/2 cup cherry preserves
- 8 ounces semisweet chocolate, chopped
- 2 tablespoons shortening
Instructions
- Preheat the Oven: Set your oven to 350°F (175°C) to prepare for baking the cookies evenly.
- Cream Butter and Sugar: In a large bowl, beat the softened butter and granulated sugar together until the mixture is light and fluffy, which helps create a tender cookie texture.
- Add Vanilla Extract: Stir in the vanilla extract to add depth and sweetness to the dough.
- Mix Dry Ingredients: Gradually add the all-purpose flour and salt to the butter mixture, mixing gently just until combined to prevent overworking the dough.
- Shape Dough Balls: Roll the dough into 1-inch balls and place them evenly spaced on baking sheets to prepare for baking.
- Create Indentations: Use your thumb to press a small indentation into the center of each dough ball, creating a well for the preserves.
- Fill with Cherry Preserves: Spoon cherry preserves into each indentation to provide a sweet, fruity center for the cookies.
- Bake the Cookies: Bake the cookies for 15-18 minutes or until the edges are lightly golden, ensuring they are fully cooked but still soft.
- Melt Chocolate: Place chopped semisweet chocolate and shortening in a microwave-safe bowl. Heat in 30-second intervals, stirring after each, until smooth and melted.
- Dip Cookies in Chocolate: Dip the tops of the cooled cookies into the melted chocolate mixture, then place them on a wire rack to let the chocolate set completely before serving.
Notes
- Make sure the butter is softened properly for easier creaming with sugar.
- Do not overmix the dough to keep the cookies tender.
- Use shortening in the chocolate to keep it glossy and easier to dip.
- Allow cookies to cool completely before dipping to avoid melting the chocolate too quickly.
- Store cookies in an airtight container at room temperature for up to one week.


