
If you’re ready to dive into a dish that brings together bold flavors, gooey cheese, and a satisfyingly crunchy exterior, then this Crispy Beef and Cheese Chimichangas Recipe is your perfect match. These golden beauties are stuffed with seasoned ground beef and a cheesy blend that melts into every bite, creating a wonderful dance of textures and tastes that’s sure to become a family favorite. Whether you’re cooking for a casual weeknight dinner or impressing friends at your next gathering, this recipe delivers comfort and excitement on a plate with every crispy bite.
Ingredients You’ll Need
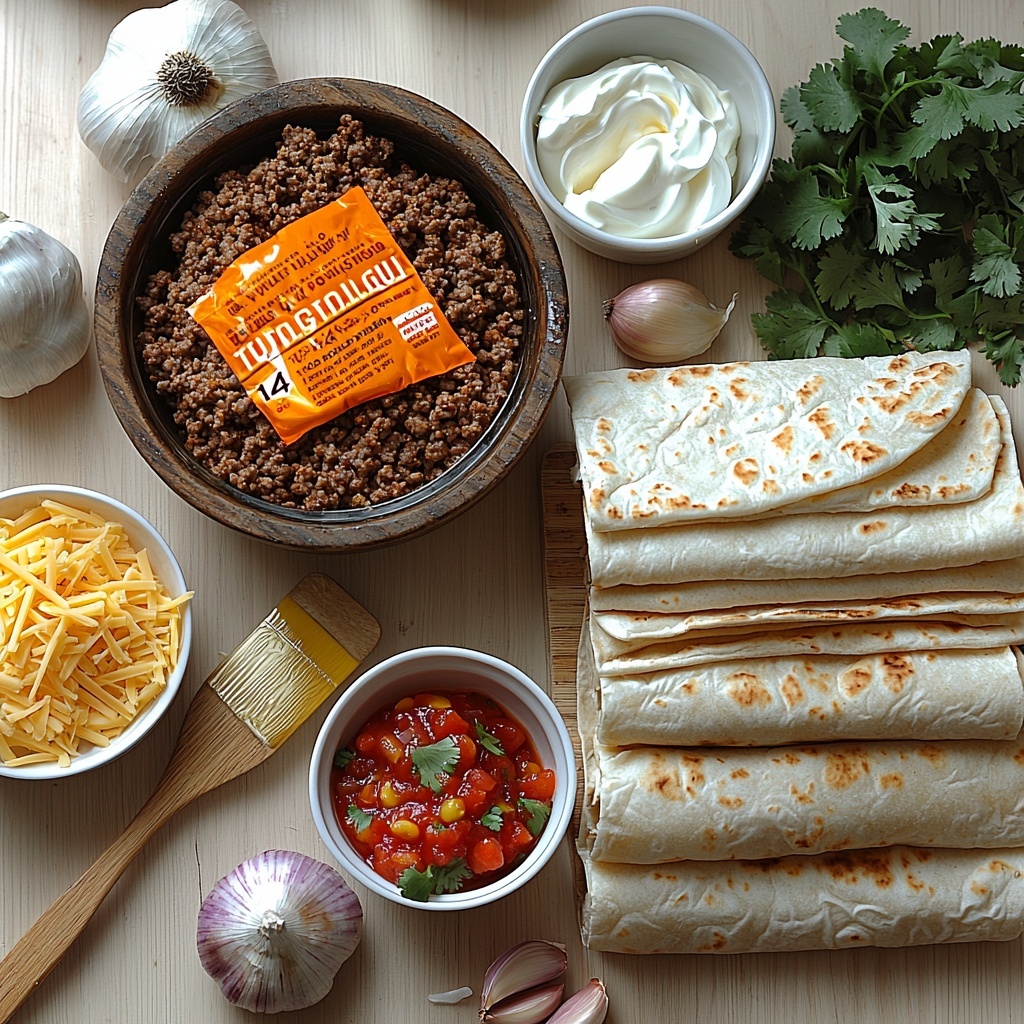
This Crispy Beef and Cheese Chimichangas Recipe is all about simplicity and flavor. Each ingredient plays a vital role, from the savory spiced beef to the melty cheeses that bring creaminess and richness. Here’s what you need to bring it all together:
- 1 lb ground beef: The hearty base that soaks up all the taco seasoning and locks in savory flavor.
- 1/2 cup onion, finely chopped: Adds a sweet and aromatic backbone to the filling.
- 2 cloves garlic, minced: Provides a fragrant punch that elevates every mouthful.
- 1 packet taco seasoning: The secret blend that spices things up perfectly without extra effort.
- 1/2 cup water: Helps to create a juicy filling that stays tender when baked or fried.
- 1 cup shredded cheddar cheese: For a sharp, tangy kick that balances the beef perfectly.
- 1 cup shredded Monterey Jack cheese: Melts smoothly and adds a creamy texture inside.
- 6 large flour tortillas: The sturdy holders that get crispy and golden during cooking.
- 1/4 cup melted butter or vegetable oil: For brushing, ensuring that crispy, irresistible crust.
- Sour cream, salsa, and chopped cilantro: Classic accompaniments that add freshness and cooling contrast.
How to Make Crispy Beef and Cheese Chimichangas Recipe
Step 1: Brown the Ground Beef
Start by cooking the ground beef over medium heat until it’s nicely browned and no longer pink. Browning is essential—it builds rich flavor and gives the beef a delicious texture. Don’t forget to drain off any excess fat to keep the filling from being greasy.
Step 2: Sauté Onion and Garlic
Add finely chopped onions and minced garlic to the skillet with the beef. Cook them together until the onions soften and become translucent, releasing their sweetness. This step creates the perfect aromatic base for your chimichangas.
Step 3: Season the Filling
Stir in your taco seasoning packet along with half a cup of water. Let the mixture simmer gently for about five minutes so those spices can meld beautifully with the beef and onions, creating a rich, juicy filling that’s deeply flavorful.
Step 4: Mix in the Cheeses
Remove the skillet from heat and fold in both shredded cheddar and Monterey Jack cheeses. The residual heat will start melting these cheeses, making the filling irresistibly creamy while still maintaining its texture inside your chimichangas.
Step 5: Assemble the Chimichangas
Spoon a generous amount of filling onto each flour tortilla. Then fold the sides in tightly and roll up the tortillas firmly, like wrapping a little gift. If you want, secure with toothpicks to keep them tightly sealed during cooking.
Step 6: Prepare for Cooking
Brush each chimichanga with melted butter or vegetable oil. This step is key to achieving that ultra-crispy, golden exterior whether you decide to bake or fry them.
Step 7: Cook Until Crispy
Place the chimichangas on a baking sheet and bake in a 400°F oven for 15-20 minutes until they look beautifully golden and crisp. Alternatively, you can fry them in hot oil until deep golden and crunchy. Both methods yield fantastic results, so choose your favorite!
Step 8: Serve and Enjoy
Once cooked, remove toothpicks and serve your chimichangas hot with dollops of sour cream, fresh salsa, and a sprinkle of chopped cilantro to brighten every bite. This combination is simply irresistible.
How to Serve Crispy Beef and Cheese Chimichangas Recipe
Garnishes
The perfect chimichanga deserves equally perfect garnishes. Sour cream brings a cooling creaminess, salsa adds a tangy freshness, and chopped cilantro delivers a burst of herbaceous brightness. Together, they elevate the dish and offer contrasting flavors that balance the crispy, cheesy filling.
Side Dishes
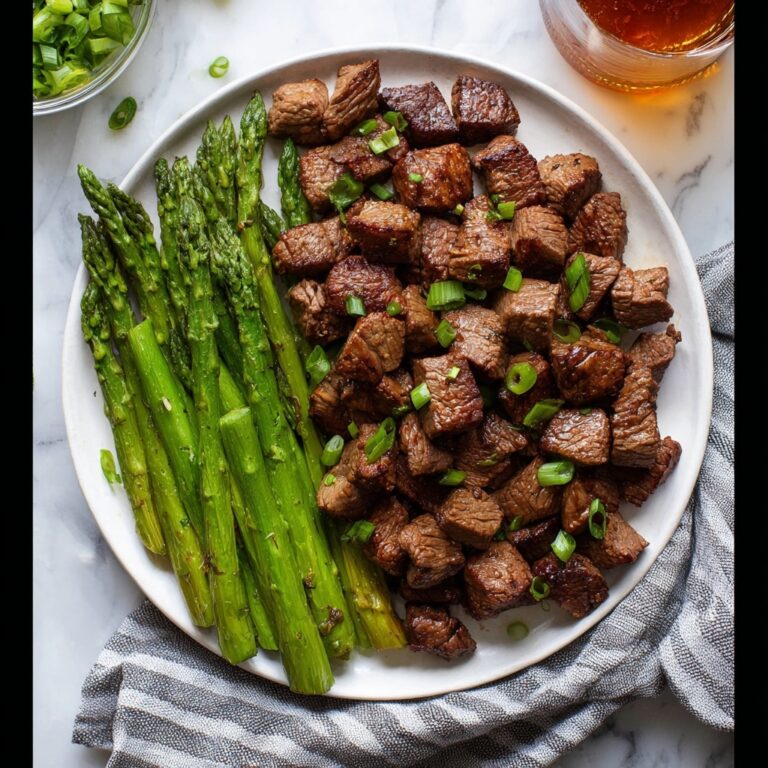
Pair your chimichangas with classic Mexican-inspired sides like Mexican rice, refried beans, or a crisp green salad with lime vinaigrette. These sides provide balance by adding freshness and variety to your meal and turn it into a complete fiesta on your plate.
Creative Ways to Present
For a fun twist, slice the chimichangas into bite-sized pinwheels and serve as a party appetizer. Alternatively, present them whole on a rustic wooden board surrounded by little bowls of guacamole, pico de gallo, and jalapeño slices. Presentation is half the fun and always builds excitement before that first delicious bite.
Make Ahead and Storage
Storing Leftovers
Leftover chimichangas are just as delightful cold or reheated. Store them in an airtight container in the refrigerator for up to three days. Keeping them sealed ensures they retain moisture and flavor without drying out.
Freezing
You can freeze uncooked, assembled chimichangas by wrapping each tightly in plastic wrap and then placing them in a freezer bag. Freeze for up to one month. When you want a quick meal, just bake them straight from frozen, adding a few extra minutes to the bake time.
Reheating
To bring back that crispy exterior after refrigeration, reheat chimichangas in the oven at 350°F for about 10 minutes. Avoid the microwave if possible, as it tends to make the tortillas soggy instead of crisp.
FAQs
Can I use shredded chicken instead of ground beef?
Absolutely! Shredded chicken is a fantastic substitute and pairs wonderfully with the cheeses and taco seasoning. Just make sure it’s cooked and well-seasoned before assembling your chimichangas.
What if I don’t have taco seasoning?
No problem—blend your own with chili powder, cumin, paprika, garlic powder, onion powder, salt, and a touch of oregano for a fresh, personalized spice mix that’s just as tasty.
Can I make these chimichangas vegan?
Yes! Swap the ground beef for seasoned lentils or plant-based meat alternatives and use vegan cheese to keep the same cheesy goodness. Just brush with oil instead of butter for crispiness.
Is it better to bake or fry chimichangas?
It depends on your preference. Baking is cleaner and less oily, plus it still delivers a beautifully crispy crust. Frying results in a richer, crunchier exterior but adds more fat. Both methods work perfectly for this recipe.
How can I prevent the chimichangas from opening while cooking?
Make sure to roll the tortillas tightly and use toothpicks to secure them if needed. Brushing with butter or oil also helps seal the edges. Handling them gently when flipping or transferring is key.
Final Thoughts
This Crispy Beef and Cheese Chimichangas Recipe is pure comfort wrapped in a crunchy shell. It’s approachable, packed with flavor, and perfect for sharing around the table with loved ones. Once you try making these at home, I bet they’ll become a go-to when you crave something that’s both cozy and exciting. So grab those ingredients and get ready to create a dish everyone will be talking about!
Print
Crispy Beef and Cheese Chimichangas Recipe
- Prep Time: 10 minutes
- Cook Time: 25 minutes
- Total Time: 35 minutes
- Yield: 6 servings
- Category: Main Course
- Method: Baking
- Cuisine: Tex-Mex
Description
These Crispy Beef and Cheese Chimichangas are a delicious Tex-Mex treat featuring seasoned ground beef and a blend of cheddar and Monterey Jack cheeses wrapped in flour tortillas, then baked or fried to golden perfection. Perfectly crispy on the outside and gooey on the inside, they make a great meal for a casual dinner or party appetizer.
Ingredients
Beef Filling
- 1 lb ground beef
- 1/2 cup onion, finely chopped
- 2 cloves garlic, minced
- 1 packet taco seasoning
- 1/2 cup water
Cheese
- 1 cup shredded cheddar cheese
- 1 cup shredded Monterey Jack cheese
Assembly
- 6 large flour tortillas
- 1/4 cup melted butter or vegetable oil (for brushing)
For Serving
- Sour cream
- Salsa
- Chopped cilantro
Instructions
- Brown the Ground Beef: In a skillet over medium heat, cook the ground beef until fully browned. Make sure to break up the meat as it cooks. Drain any excess fat from the skillet to keep the filling from being greasy.
- Sauté Aromatics: Add the finely chopped onion and minced garlic to the skillet. Cook until the onion becomes soft and translucent, about 3-5 minutes, to develop flavor.
- Add Seasoning: Stir in the taco seasoning and 1/2 cup water. Bring the mixture to a simmer and let it cook for about 5 minutes until the flavors meld and the liquid slightly reduces.
- Mix in Cheese: Remove the skillet from heat and fold in the shredded cheddar and Monterey Jack cheeses until melted and well combined with the beef mixture.
- Assemble Chimichangas: Spoon an appropriate amount of the beef and cheese filling onto each flour tortilla. Fold the sides tightly over the filling and roll up to enclose it completely. Secure with toothpicks if needed to hold the shape.
- Brush with Butter or Oil: Lightly brush the outside of each chimichanga with melted butter or vegetable oil to help achieve a crispy, golden crust during cooking.
- Cook Chimichangas: To bake, place chimichangas on a baking sheet and bake in a preheated oven at 400°F (204°C) for 15-20 minutes or until golden and crispy. Alternatively, fry them in hot oil until golden brown and crispy on all sides.
- Serve: Remove toothpicks, then serve warm chimichangas with sides of sour cream, salsa, and garnish with chopped cilantro for freshness and extra flavor.
Notes
- You can substitute ground turkey or chicken for a leaner option.
- To make it vegetarian, replace ground beef with sautéed beans or textured vegetable protein.
- If frying, be careful with hot oil and avoid overcrowding the pan.
- Chimichangas can be made ahead and refrigerated; reheat in the oven to restore crispiness.
- Adjust the amount of taco seasoning to your preferred spice level.


