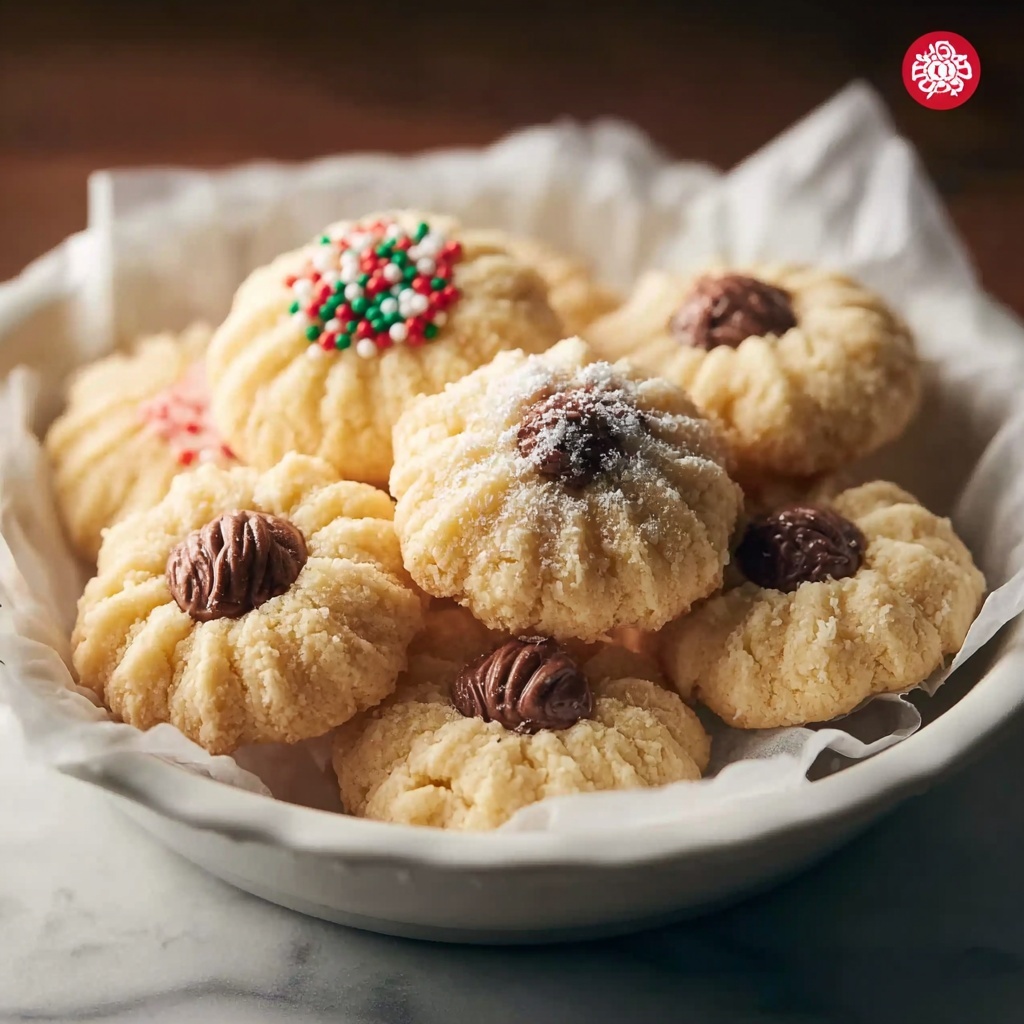
If you have a soft spot for simple yet irresistibly buttery treats, then this Danish Butter Cookies Recipe is absolutely for you. These cookies strike the perfect balance between tender, melt-in-your-mouth texture and that nostalgic, rich buttery flavor that makes every bite feel like a warm hug. Whether you’re baking for the holidays, a cozy afternoon tea, or simply because you deserve a sweet break, these cookies bring that classic Danish charm right into your kitchen with surprisingly easy steps and basic ingredients.
Ingredients You’ll Need
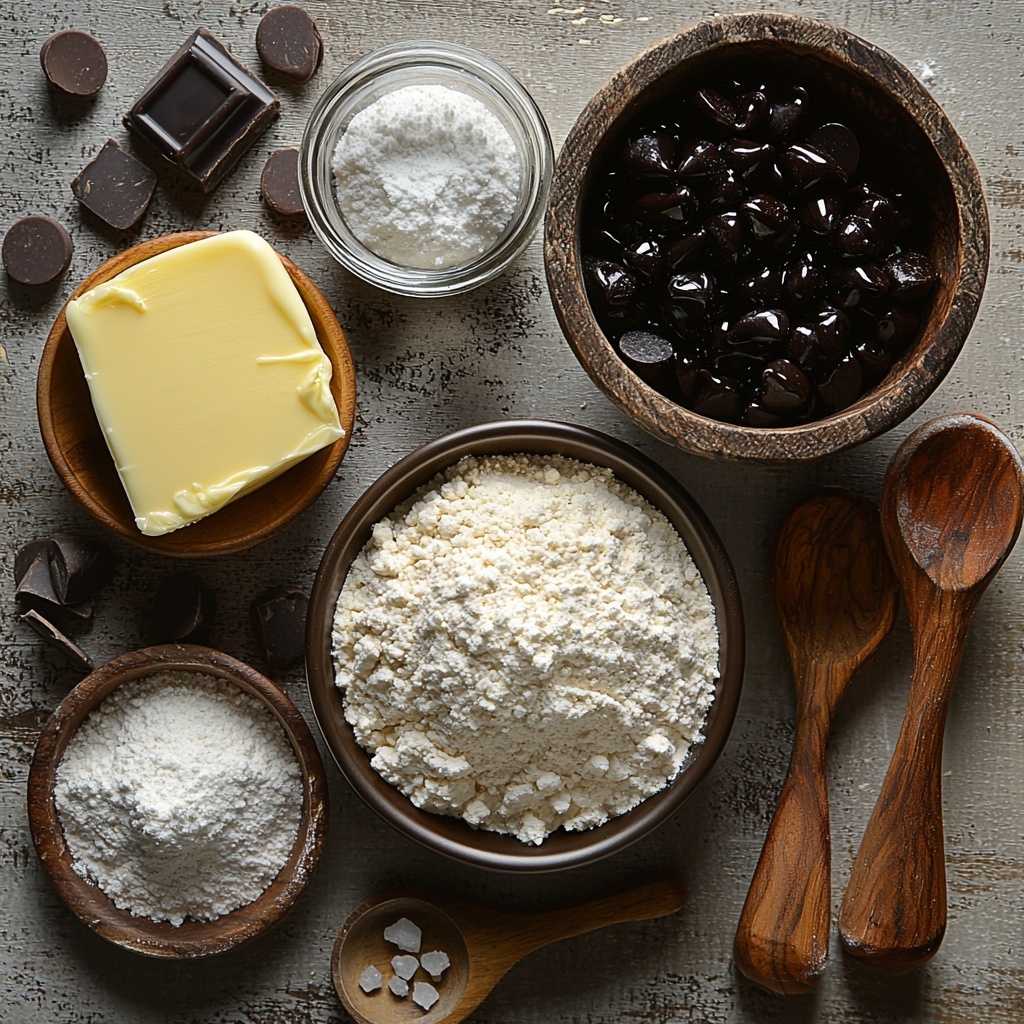
Gathering a handful of straightforward ingredients is all it takes to create these delightful cookies. Each component plays a vital role in building the light, crumbly texture and that signature buttery taste that makes this Danish Butter Cookies Recipe such a crowd-pleaser.
- Unsalted butter (1 cup, softened): The star of the show, providing richness and a tender crumb when at room temperature for easier mixing.
- Powdered sugar (1/2 cup, sifted): Adds sweetness and contributes to the melt-in-your-mouth softness, with no gritty texture.
- All-purpose flour (1 1/4 cups): The structure builder that keeps your cookies perfectly light but holds their shape beautifully.
- Pinch of salt: Enhances the buttery flavor and balances the sweetness for a well-rounded taste.
- Vanilla extract (1 teaspoon, pure): A subtle aromatic touch that lifts the flavor profile of the cookie from simple to utterly delicious.
- Dark chocolate chips (1/2 cup, optional for dipping): Adds a decadent finishing touch for those who love a chocolate twist.
How to Make Danish Butter Cookies Recipe
Step 1: Prep Your Ingredients and Tools
First things first, you want to soften your butter to room temperature to ensure it creams smoothly with the sugar. While you’re waiting, preheat your oven to 375°F and line your baking sheets with parchment paper. This pre-planning makes the entire process flow smoothly.
Step 2: Cream Butter and Sugar
Using a mixer or even a sturdy wooden spoon, beat together the softened butter and sifted powdered sugar until the mixture is light and fluffy. This step is key because properly creamed butter traps air, giving your cookies their delicate texture.
Step 3: Add Vanilla and Dry Ingredients
Mix in the pure vanilla extract to infuse your batter with aroma. Then gradually add in the all-purpose flour along with a pinch of salt. Stir just until the dough comes together; overmixing can make the cookies tough.
Step 4: Shape the Cookies
Transfer the dough into a piping bag fitted with your favorite cookie tip. Pipe elegant shapes like circles, S’s, or pretzel-like loops directly onto the prepared baking sheets. For the authentic Danish Butter Cookies Recipe look, take your time creating neat, consistent designs. Chill the shaped cookies in the refrigerator for about 15 minutes to help them hold their shape while baking.
Step 5: Bake to Golden Perfection
Slide your chilled cookies into the preheated oven and bake for 8 to 10 minutes. You’re looking for edges that are just beginning to turn a light golden hue. Pull them out before they get too brown, as that delicate buttery flavor shines brightest with a subtle golden crust.
Step 6: Optional Chocolate Dip
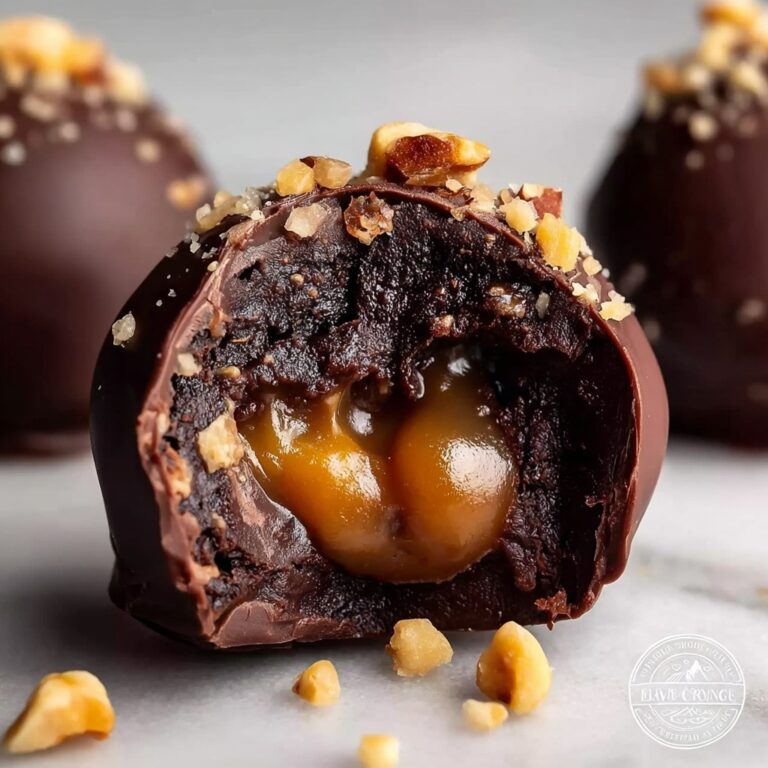
If you’re feeling extra indulgent, melt the dark chocolate chips and dip half of each cooled cookie into the glossy chocolate. Place them on wax paper and allow the chocolate to set for a lovely contrast in flavor and a beautiful presentation.
How to Serve Danish Butter Cookies Recipe
Garnishes
While these cookies are delicious all on their own, a light dusting of powdered sugar makes for a pretty, festive touch. If you opted for the chocolate dip, a sprinkle of sea salt adds a gourmet flair that wakes up your taste buds.
Side Dishes
Pair these buttery morsels with a hot cup of Earl Grey or a smooth latte for a perfect teatime combo. Their mild sweetness also balances well with a fresh fruit salad or tangy citrus slices, providing contrast and refreshing notes to the rich cookies.
Creative Ways to Present
Arrange your Danish Butter Cookies on a tiered serving stand for an elegant display at parties or package them in clear cellophane bags tied with ribbon as heartfelt homemade gifts. Layer them with parchment paper in a decorative tin to keep them fresh and make the opening experience extra special.
Make Ahead and Storage
Storing Leftovers
Once baked and completely cooled, store your Danish Butter Cookies in an airtight container at room temperature. They stay fresh and maintain their texture for up to a week, making them a perfect make-ahead treat for unexpected guests.
Freezing
You can freeze the shaped but unbaked dough by placing the piped cookies on a tray, freezing until firm, and then transferring to a container or freezer bag. Bake directly from frozen, adding an extra minute or two to the baking time. Baked cookies also freeze well in airtight containers for up to three months.
Reheating
If you want to reheat your Danish Butter Cookies, pop them into a preheated oven at 300°F for just a few minutes to refresh their crispness without drying them out. Avoid microwaving as it can make them chewy or soggy.
FAQs
Can I use salted butter instead of unsalted butter?
While unsalted butter is preferred to control the saltiness precisely, you can use salted butter by omitting or reducing the added pinch of salt. Just be mindful not to over-salt the dough.
Is it necessary to chill the dough before baking?
Chilling the piped dough helps the cookies keep their delicate shapes during baking. Skipping this step might cause them to spread too much and lose their classic appearance.
How should I store the cookies to keep them fresh longer?
Store cooled cookies in an airtight container at room temperature, layering them with parchment paper to avoid sticking. This keeps them fresh and crisp for several days.
Can I add other flavors to this Danish Butter Cookies Recipe?
Absolutely! Adding ground nuts like almonds or a sprinkle of cinnamon can add a new dimension of flavor. Just keep additions minimal to maintain that traditional buttery balance.
What’s the best way to dip cookies in chocolate?
Use good quality dark chocolate chips melted gently over a double boiler or in short bursts in the microwave, stirring often to prevent burning. Dip half of each cooled cookie and set them on parchment paper to harden fully.
Final Thoughts
You really can’t go wrong with this Danish Butter Cookies Recipe when craving something sweet that feels both simple and special. With just a few pantry staples transforming into buttery, delicate perfection, these cookies always bring a touch of joy to any occasion. Go ahead, gather those ingredients, and enjoy the cozy, buttery magic that only homemade Danish cookies can deliver.
Print
Danish Butter Cookies Recipe
- Prep Time: 15 minutes
- Cook Time: 10 minutes
- Total Time: 35 minutes
- Yield: 24 servings
- Category: Dessert
- Method: Baking
- Cuisine: Danish
Description
Classic Danish Butter Cookies with a rich, buttery flavor and a crisp, tender texture. These cookies are perfect for any occasion and can be optionally dipped in dark chocolate for an extra indulgent treat.
Ingredients
Cookie Dough
- 1 cup unsalted butter, softened (room temperature)
- 1/2 cup powdered sugar (sifted)
- 1 1/4 cups all-purpose flour
- Pinch of salt
- 1 teaspoon pure vanilla extract
Optional
- 1/2 cup dark chocolate chips (for dipping)
Instructions
- Prep: Gather all ingredients and ensure the butter is softened to room temperature for easy creaming. Preheat your oven to 375°F (190°C) and line baking sheets with parchment paper or silicone mats to prevent sticking.
- Cream Butter and Sugar: In a large mixing bowl, use a hand mixer or stand mixer to cream the softened butter with the sifted powdered sugar until the mixture is light and fluffy, about 2-3 minutes.
- Add Vanilla Extract: Stir in the pure vanilla extract until fully incorporated, enhancing the cookie’s flavor.
- Add Flour and Salt: Gradually mix in the all-purpose flour and pinch of salt, blending just until a soft dough forms. Avoid overmixing to keep cookies tender.
- Shape: Transfer the dough into a piping bag fitted with a decorative tip. Pipe desired shapes like circles, pretzels, or classic buttons onto the prepared baking sheets, spacing them about 1 inch apart.
- Chill Dough: Place the piped cookies in the refrigerator for 15 minutes to firm up, which helps maintain shape during baking.
- Bake: Bake in the preheated oven for 8-10 minutes or until the edges are lightly golden. Keep a close eye to prevent overbaking, which can dry out the cookies.
- Optional Chocolate Dip: If desired, melt dark chocolate chips in a microwave or double boiler. Dip cooled cookies halfway into the melted chocolate and place on parchment paper to set.
- Cool and Serve: Allow cookies to cool completely on a wire rack before serving or storing in an airtight container.
Notes
- Use unsalted butter to control the salt balance in the cookies.
- Sifting the powdered sugar prevents lumps and helps achieve a smoother dough.
- Piping ensures delicate, uniform shapes but you can also roll and cut dough if preferred.
- Chilling the dough before baking is crucial to maintain shape and texture.
- Cookies can be stored in an airtight container at room temperature for up to one week.
- Dark chocolate dipping is optional but adds a delicious contrast.
