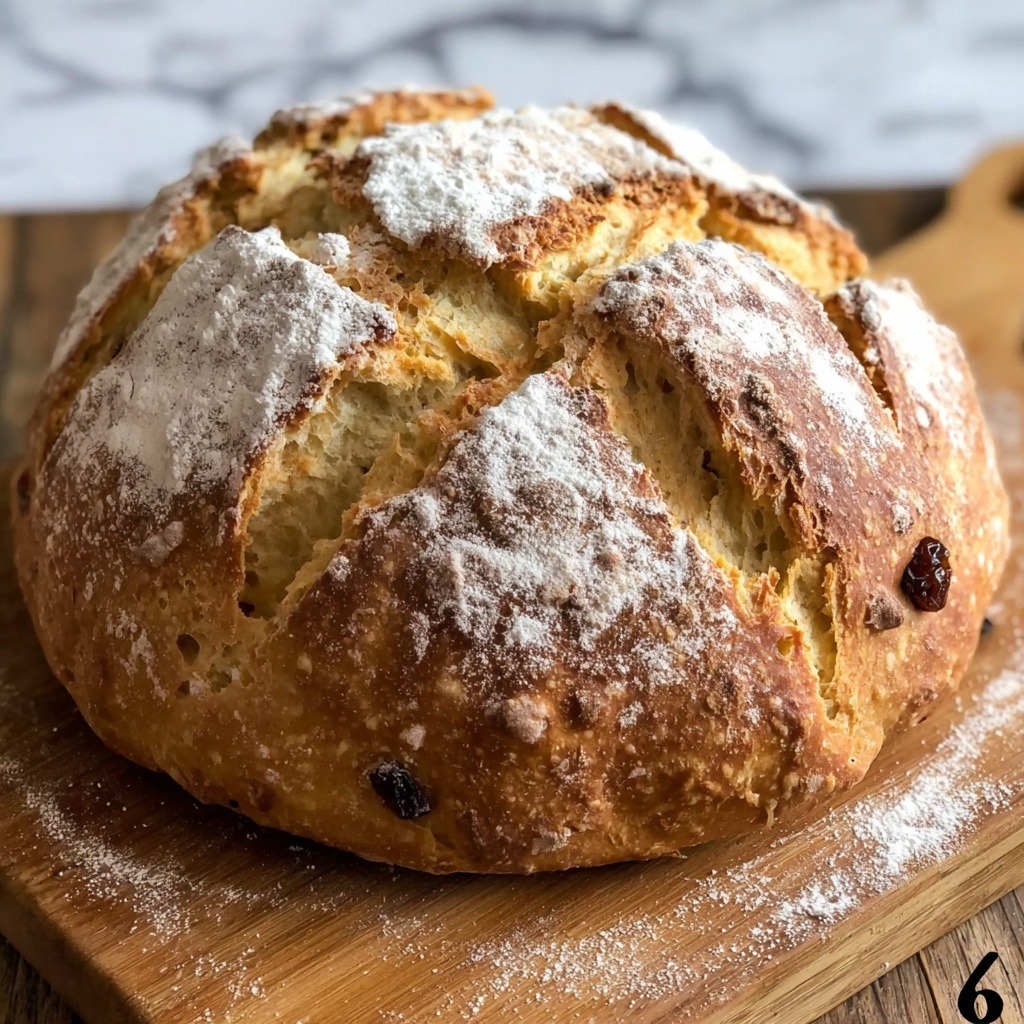
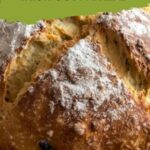
If you’ve ever longed for a warm, hearty bread that feels like a comforting hug from home, then this Irish Soda Bread Recipe Nostalgic Ultimate Classic Recipe is exactly what you need. It’s the kind of bread that carries the rustic charm of the Irish countryside right into your kitchen. With its golden crust and tender crumb, this recipe brings together simple pantry staples into something gloriously satisfying. Whether you’re new to baking or a seasoned pro, this soda bread will quickly become your go-to for cozy breakfasts, satisfying snacks, or a perfect companion to your favorite stews.
Ingredients You’ll Need
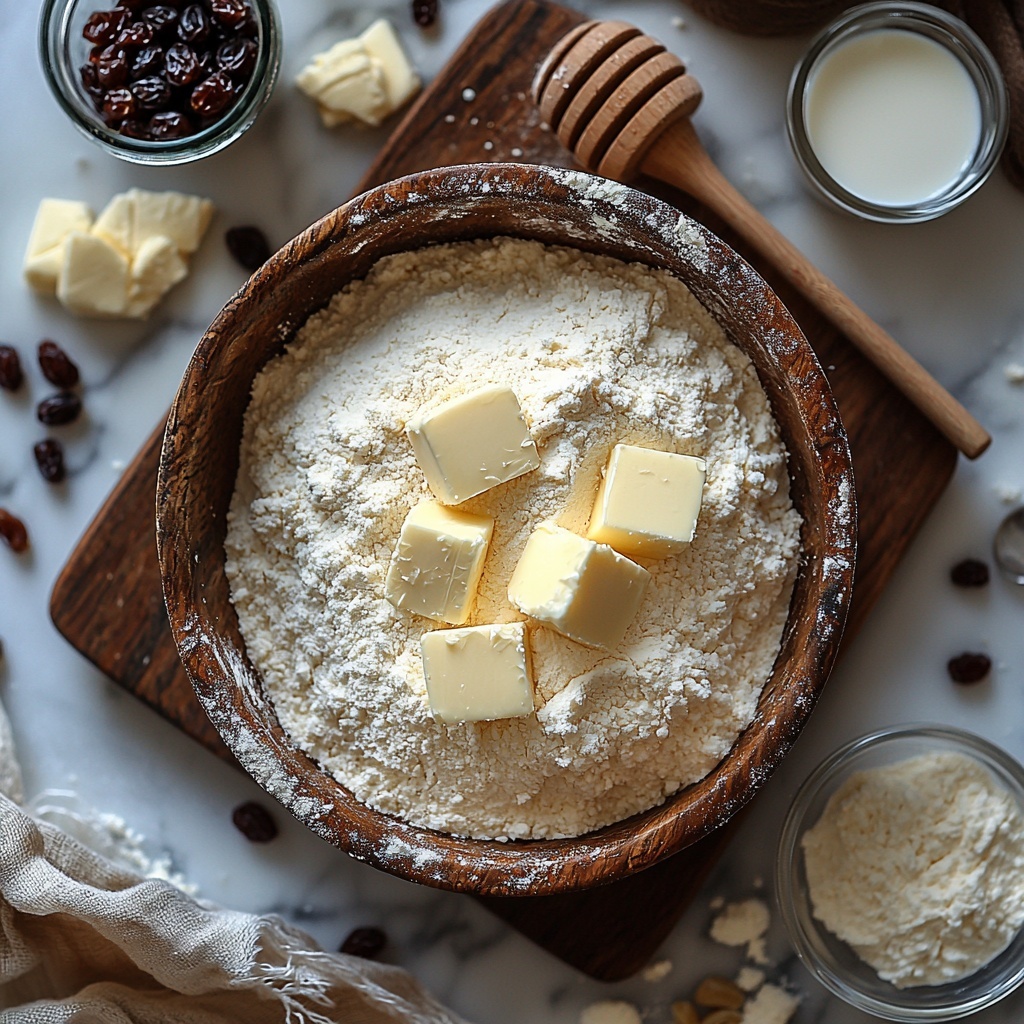
The magic of this Irish soda bread lies in its simplicity. Each ingredient plays a crucial role—you’ll find that with just a handful, you can create something truly special. From the tang of buttermilk to the slight crunch of caraway seeds or the gentle sweetness of raisins, every element contributes to the bread’s unique character.
- 4 cups all-purpose flour: The foundation of the bread, providing structure and that tender hearty crumb we all adore.
- 1 tsp baking soda: Fresh soda is essential for the perfect rise and that signature light texture.
- 1 tsp fine salt: Enhances the flavors and balances the sweet and tangy elements.
- 1 ¾ cups cold buttermilk: The true star, activating the baking soda and infusing the bread with subtle tang.
- 2 tbsp cold unsalted butter: Adds richness and flakiness with just a few small pieces folded in.
- 1–2 tbsp sugar or honey: Just enough to add a delicate sweetness without becoming dessert-like.
- Optional ¾ cup raisins or currants: For a bakery-style, sweet twist that complements the mild tartness beautifully.
- Optional 1 tbsp caraway seeds: For a traditional flavor that adds a warm, aromatic depth.
How to Make Irish Soda Bread Recipe Nostalgic Ultimate Classic Recipe
Step 1: Prep Your Oven and Pan
Begin by preheating your oven to a toasty 425°F (220°C), setting the stage for a crisp, golden crust. You can either line a baking sheet with parchment or place a cast-iron skillet inside to heat up—both methods build that beautifully rustic exterior. This initial heat ensures your loaf gets a perfect crust right from the start.
Step 2: Mix the Dry Ingredients
In a large bowl, whisk together the flour, baking soda, and salt thoroughly. If you’re using butter, work it into the flour with your fingertips until the mixture resembles coarse crumbs. This step isn’t just for show; it spreads the fat evenly for a tender crumb and ensures the baking soda is distributed for an even rise.
Step 3: Add Buttermilk and Form the Dough
Create a well in the center of your dry ingredients and pour in the cold buttermilk. Stir gently with a fork or wooden spoon until the dough begins to come together but still looks a bit shaggy. Don’t worry if it seems dry—just add more buttermilk a tablespoon at a time until it feels soft but not sticky. Remember, this is a quick bread, so gentle mixing is the name of the game to keep the loaf light and tender.
Step 4: Shape the Dough with Care
Turn your dough onto a floured surface and quickly bring it together without overworking. Pat it into a round shape about 6–7 inches wide and 1½–2 inches thick. If you want those lovely raisins, currants, or caraway seeds inside, fold them in carefully with just a few quick turns to keep the texture just right. The dough will be soft and slightly tacky to the touch but not wet enough to stick.
Step 5: Score the Top
Transfer the round to your baking sheet or hot skillet and use a sharp knife to cut a deep cross about half an inch deep on top of the dough. This signature score isn’t just decorative—it helps the loaf expand evenly and bake through, creating that classic look we all recognize and love.
Step 6: Bake to Golden Perfection
Pop your bread into the oven and bake for 25 minutes at 425°F (220°C). Then, reduce the heat to 400°F (200°C) and bake for another 10–15 minutes until deeply golden and crisp. When done, it should sound hollow when tapped on the bottom, signaling that it’s cooked through with a beautifully firm crust.
Step 7: Cool Before Slicing
Patience here pays off. Remove the bread and let it cool on a wire rack for at least 20 to 30 minutes. This resting time allows the crumb to set properly, ensuring your slice won’t be gummy and will have that perfect texture every time.
How to Serve Irish Soda Bread Recipe Nostalgic Ultimate Classic Recipe
Garnishes
Irish soda bread is charming all on its own, but a generous spread of creamy butter or a drizzle of honey takes it to another level. For a touch of warmth and spice, try topping with cinnamon butter or adding a bit of jam to complement the bread’s subtle sweetness. These little additions turn a simple slice into a memorable treat.
Side Dishes
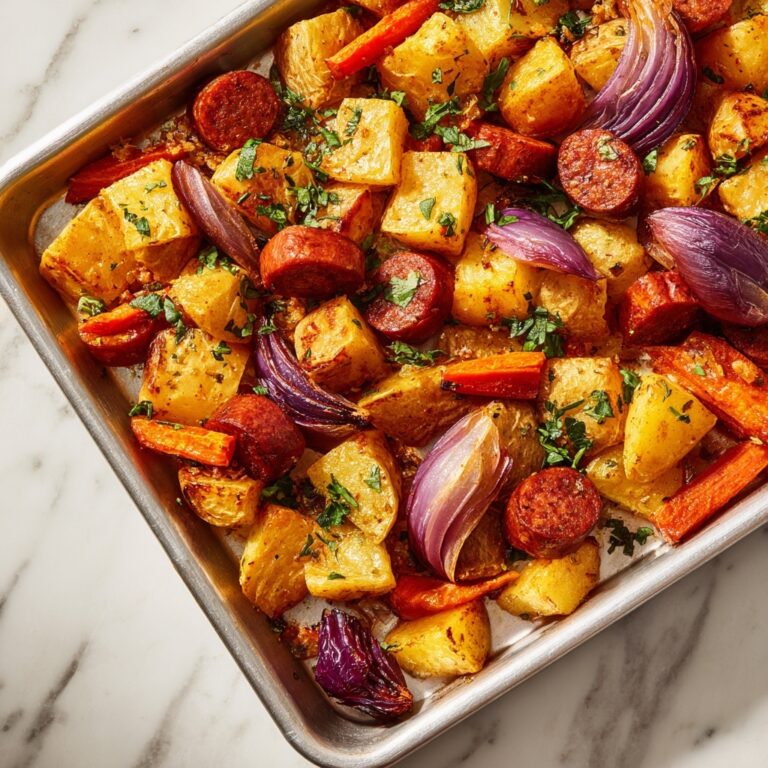
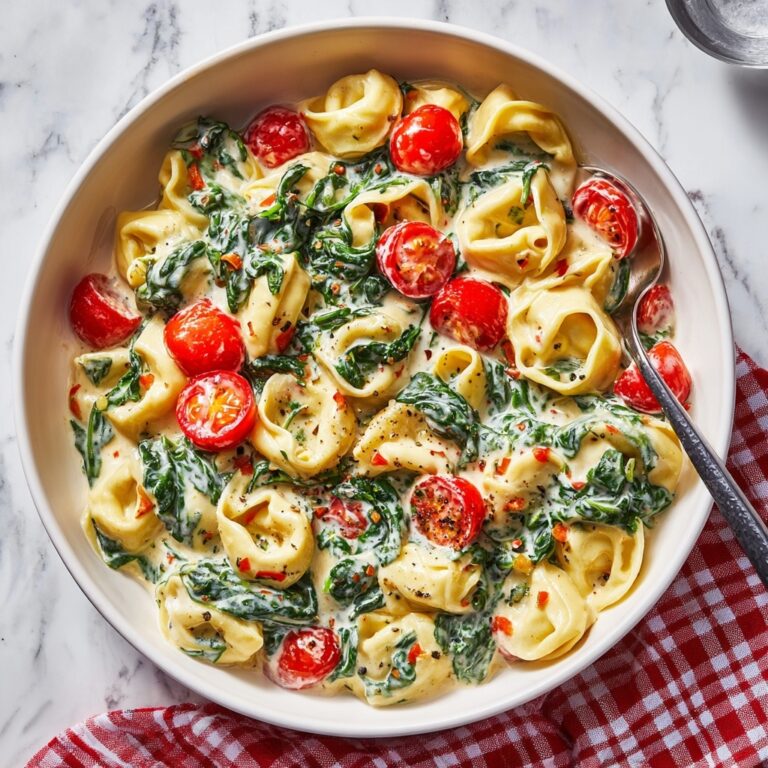
This bread pairs beautifully with hearty Irish stews loaded with tender chunks of beef, fresh vegetables, and rich broth. Alternatively, it’s impeccable alongside a sharp cheddar cheese board or a bowl of creamy soup—think leek and potato or roasted tomato bisque. It’s that trusty sidekick to all kinds of comforting dishes.
Creative Ways to Present
Why not elevate your classic loaf? Slice the bread thick and toast it for an irresistible base for avocado toast or open-faced sandwiches. You can also cube it and serve alongside dips for a casual gathering or even turn leftover soda bread into breadcrumbs for a crunchy topping on casseroles. The beloved Irish Soda Bread Recipe Nostalgic Ultimate Classic Recipe lends itself to so many delicious adventures!
Make Ahead and Storage
Storing Leftovers
Once cooled, wrap the bread tightly in plastic wrap or store it in an airtight container at room temperature. Properly stored, it will stay fresh for 2 to 3 days. Keep it away from humidity, which can cause the crust to soften and the bread to stale faster.
Freezing
If you want to enjoy this Irish soda bread recipe nostalgic ultimate classic recipe at your convenience, freezing is a perfect option. Wrap the whole loaf or individual slices tightly in plastic wrap and then place them in a freezer bag. It will keep well for up to 3 months without losing its texture or flavor.
Reheating
To revive your bread, thaw it at room temperature if frozen. Then warm it in a 350°F (175°C) oven for about 10 minutes to bring back that crisp crust and soft interior. Avoid microwaving as it can make the bread chewy or rubbery. A warm slice fresh from the oven tastes almost as good as the first day!
FAQs
What makes this Irish soda bread recipe different from yeast bread?
Unlike yeast breads, this recipe uses baking soda as a leavening agent activated by buttermilk, resulting in a quicker rise and a denser, moist crumb without the need for rising time.
Can I substitute regular milk for buttermilk?
While buttermilk is ideal for flavor and activating the baking soda, you can make a substitute by mixing 1¾ cups of milk with 1 tbsp vinegar or lemon juice and letting it sit for 5 minutes before using.
Is it OK to add raisins or seeds?
Absolutely! Adding raisins or currants gives a lovely sweetness for a bakery-style loaf, while caraway seeds lend a traditional flavor punch. You can use one or both depending on your taste.
Why do I need to score the top of the bread?
Scoring the dough helps it expand evenly while baking and prevents cracking in unwanted places. It also creates that iconic soda bread look with a rustic cross on top.
How do I know when the bread is fully baked?
The bread should be deeply golden, sound hollow when tapped on the bottom, and have a firm crust. Cool for a bit before slicing to ensure the crumb sets perfectly.
Final Thoughts
Making this Irish Soda Bread Recipe Nostalgic Ultimate Classic Recipe is like holding a piece of Irish tradition in your hands. Its simplicity, speed, and comforting flavors make it a delightful project and a rewarding everyday bread. I wholeheartedly encourage you to give it a try—baking this bread can bring a touch of warmth, nostalgia, and joy to any table.
Print
Delicious Recipe
- Prep Time: 10 minutes
- Cook Time: 40 minutes
- Total Time: 50 minutes
- Yield: 8 servings (1 rustic loaf)
- Category: Bread
- Method: Baking
- Cuisine: Irish
- Diet: Vegetarian
Description
This Irish Soda Bread recipe offers a nostalgic, classic quick bread that’s tender on the inside with a rustic, golden crust. Made without yeast, it uses simple pantry staples like flour, baking soda, salt, buttermilk, and butter to create a wholesome loaf perfect for any occasion. The optional add-ins like raisins, currants, or caraway seeds add delightful variations to this traditional favorite.
Ingredients
Main Ingredients
- 4 cups (500 g) all-purpose flour, plus extra for shaping
- 1 tsp baking soda (fresh for best rise)
- 1 tsp fine salt
- 1 ¾ cups (420 ml) cold buttermilk, plus 1–2 tbsp as needed
- 2 tbsp (28 g) cold unsalted butter, cut into small pieces
- 1–2 tbsp (12–25 g) sugar or honey (optional, adds gentle sweetness)
Optional Add-ins
- ¾ cup (110–120 g) raisins or currants (for a sweet, bakery-style bread)
- 1 tbsp caraway seeds (for traditional flavor)
Instructions
- Prepare your oven and pan: Preheat the oven to 425°F (220°C). Line a baking sheet with parchment paper or place a cast-iron skillet inside the oven while it heats, ensuring either method for a rustic crust.
- Mix the dry ingredients: In a large bowl, whisk together the flour, baking soda, and salt. If using butter, rub it into the flour with your fingertips until the mixture resembles coarse crumbs, ensuring even baking soda distribution.
- Add buttermilk and form the dough: Make a well in the center and pour in the cold buttermilk. Stir with a fork or wooden spoon until the dough looks shaggy and just comes together, adding more buttermilk 1 tablespoon at a time if dry patches remain. Avoid overmixing to prevent a tough loaf.
- Shape the dough gently: Turn the dough onto a lightly floured surface. Gently bring it together and pat into a 6–7 inch (15–18 cm) round, about 1½–2 inches (4–5 cm) thick. Fold in raisins, currants, or caraway seeds with 2–3 quick turns if using, avoiding heavy kneading.
- Score the dough: Place the shaped dough on the prepared pan or skillet. Using a sharp knife, score a deep cross (about ½ inch/1 cm deep) across the top to help the loaf expand evenly and achieve the classic soda bread look.
- Bake the bread: Bake at 425°F (220°C) for 25 minutes. Then reduce the heat to 400°F (200°C) and bake for another 10–15 minutes until the crust is deeply golden and firm.
- Check for doneness: The loaf should sound hollow when tapped on the bottom, and the crust should be richly browned and firm.
- Cool before slicing: Transfer the bread to a wire rack and let it cool for at least 20–30 minutes. This resting time prevents gummy crumb and results in a cleaner slice and better texture.
Notes
- Use lightly spooned and leveled flour to avoid dense bread.
- Fresh baking soda ensures the best rise.
- Buttermilk is essential for flavor and to activate the baking soda; substitute with milk mixed with vinegar if unavailable.
- Do not overwork the dough to maintain tenderness.
- Scoring the top deeply is crucial for proper expansion and traditional aesthetics.
- Allow the bread to cool fully before slicing to avoid a gummy texture.
- Raisins, currants, or caraway seeds are optional but add distinctive flavor profiles.


