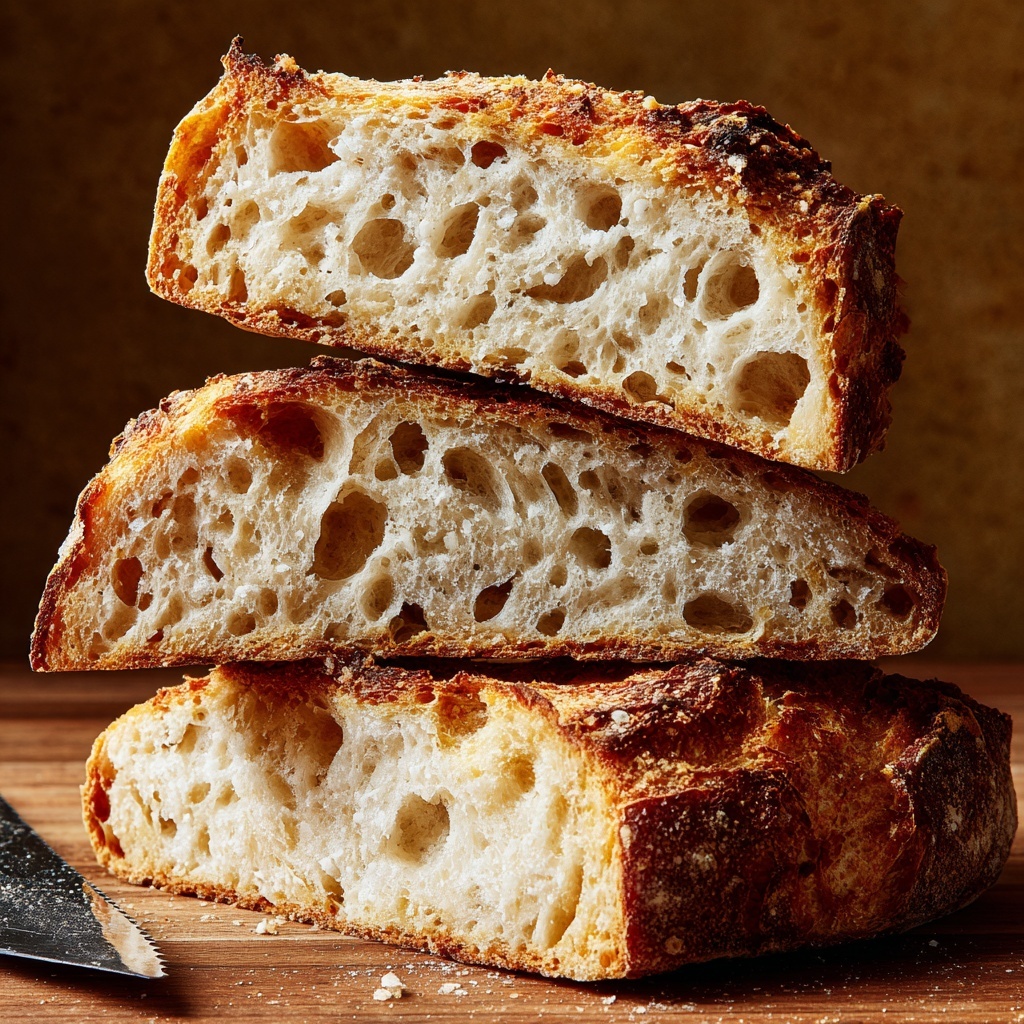
If you’ve ever dreamed of baking bakery-quality bread at home without the hassle and arm workout of kneading, this No Knead Bread (Overnight Version) Recipe is your new best friend. With just a few humble pantry staples and a bit of patience, you can wake up to the irresistible aroma of freshly baked, artisan-style bread with a crust so crisp and an interior so tender it feels like a magic trick. This recipe combines simplicity with soulful baking — you’ll love how effortless and rewarding bread baking can be!
Ingredients You’ll Need
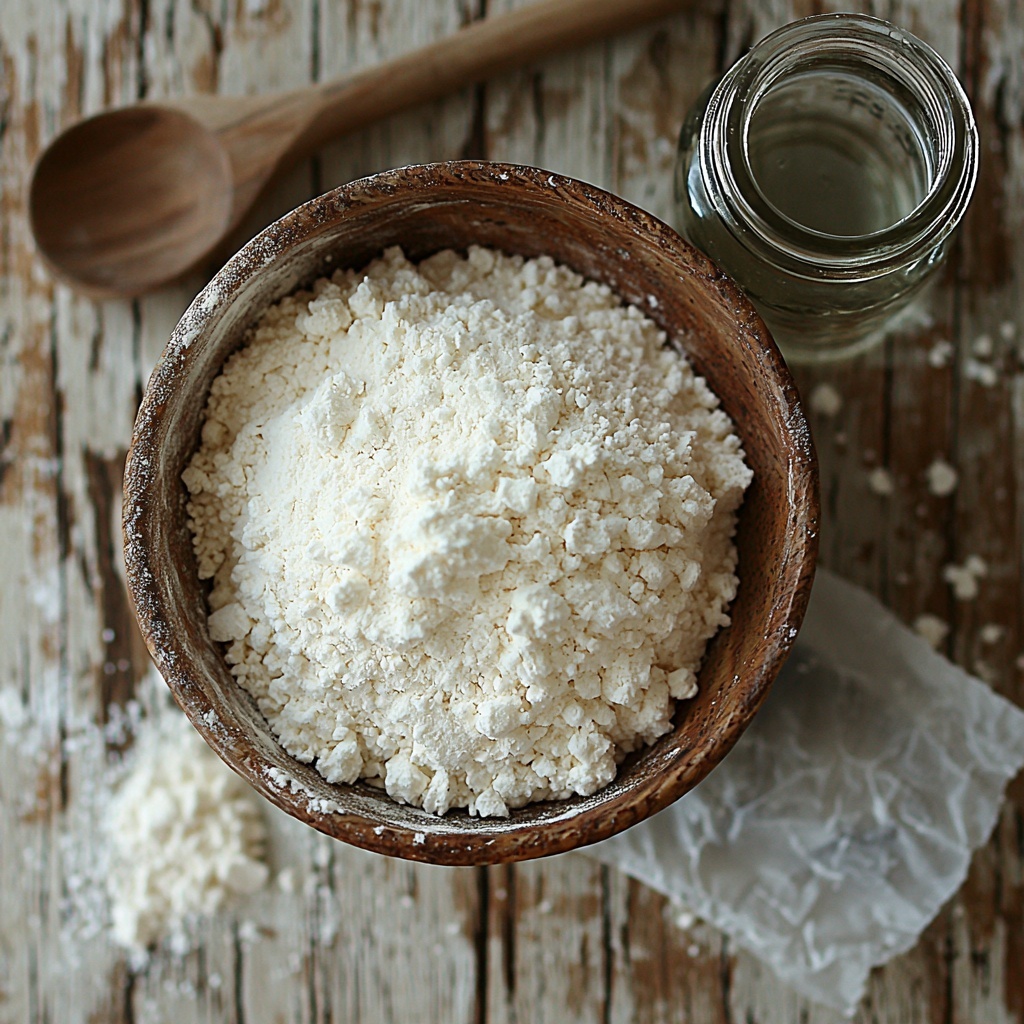
Believe it or not, this No Knead Bread (Overnight Version) Recipe calls for just a handful of simple ingredients, each playing a specific role to create perfect crust and crumb every time.
- All-purpose flour (3 1/4 cups / 425 grams): The backbone of your loaf, providing structure and that tender crumb we all crave.
- Fine sea salt (2 teaspoons): Enhances flavor and controls yeast activity, ensuring balanced taste and texture.
- Active dry yeast (1/2 teaspoon): Just a pinch to spark the fermentation that gives your bread rise and character.
- Warm water (1 1/2 cups at about 110°F): Activates the yeast and hydrates the flour for that soft, elastic dough.
How to Make No Knead Bread (Overnight Version) Recipe
Step 1: Mix the Ingredients
Start by stirring together the flour, salt, and yeast in a large bowl. Then add the warm water and stir everything with a wooden spoon or spatula until the dough looks shaggy but well combined—no big streaks of flour should remain. This rough texture is exactly what you want at this stage.
Step 2: Let It Rest Overnight
Cover the bowl tightly with plastic wrap or beeswrap and leave it to rest at room temperature for 12 to 18 hours. This long, slow fermentation develops deep, complex flavors and gives the dough its wonderful airy qualities without the need for kneading.
Step 3: Shape the Dough
After your dough has fermented overnight, turn it out onto a well-floured surface. Fold the edges of the dough inward several times to form a tighter ball – this gives your bread a beautiful rise and shape. Dust the dough lightly with flour, flip it smooth-side up onto parchment paper, and gently shape it into an even circle. Cover loosely and let it rest while you heat your oven.
Step 4: Preheat the Oven with Dutch Oven Inside
Place your Dutch oven in the oven and set the temperature to 450°F. Let it heat for 20 to 30 minutes. Heating the Dutch oven ensures your bread will develop that iconic crispy crust thanks to the steam trapped inside during baking.
Step 5: Bake the Bread
Wearing oven mitts, carefully remove the hot Dutch oven and lift your dough sitting on parchment into it. Cover with the lid and bake for 30 minutes. Then remove the lid and bake for another 10 to 20 minutes until the crust turns a gorgeous golden brown and feels crisp to the touch.
Step 6: Cool and Enjoy
Using the parchment as a sling, transfer the bread to a wire rack to cool for at least half an hour. This resting period lets the crumb set perfectly so your bread slices without squishing. Then cut a thick slice, maybe slather with butter, and savor the delicious reward you’ve created!
How to Serve No Knead Bread (Overnight Version) Recipe
Garnishes
Try brushing the crust with a little olive oil immediately after baking for a glossy finish, or sprinkle some flaky sea salt on top before the final bake for subtle crunch and extra flavor. Fresh herbs or garlic butter spread lightly can elevate your loaf into a tasty centerpiece.
Side Dishes
This bread pairs wonderfully with a wide range of accompaniments: creamy soups like tomato bisque or butternut squash, vibrant olive tapenades, or hearty stews. It’s also stellar simply toasted with jam or used for sandwiches with your favorite fixings.
Creative Ways to Present
Serve your bread in a rustic basket lined with a linen napkin for a charming presentation. You can slice it thick for dipping boards with cheeses and charcuterie or hollow out a round loaf and fill it with spinach artichoke dip for a crowd-pleasing appetizer.
Make Ahead and Storage
Storing Leftovers
Store your bread at room temperature wrapped loosely in a kitchen towel or paper bag to keep the crust crisp while preventing it from drying out. Avoid airtight plastic bags which trap moisture and soften the crust.
Freezing
If you don’t eat it all within a couple of days, slice the bread and freeze portions in airtight bags. This way, you can toast or warm slices whenever you want, enjoying fresh-baked flavors anytime.
Reheating
Revive day-old bread by warming it in a 350°F oven for 5 to 10 minutes, either wrapped in foil for softer crumb or directly on the rack for a crisp crust. A quick toasting also works wonders for slices.
FAQs
Do I really not need to knead the dough at all?
That’s the beauty of this No Knead Bread (Overnight Version) Recipe—it skips traditional kneading thanks to long fermentation and folding methods, developing gluten naturally for outstanding texture without any kneading effort.
Can I use whole wheat flour instead of all-purpose?
You can substitute part or all of the flour with whole wheat, but expect a denser loaf and slight changes in flavor. Try up to half whole wheat to keep the light texture while adding wholesome nuttiness.
What if my kitchen is cold and dough doesn’t rise overnight?
Yeast works slower in cooler environments, so you might need to allow extra time or find a slightly warmer spot. The dough should still rise eventually—it just takes patience!
Is the Dutch oven necessary for this recipe?
Using a Dutch oven traps steam during baking, creating a crisp crust that mimics professional bread ovens. If you don’t have one, try baking on a preheated heavy baking sheet with a pan of water nearby for steam, but results may vary.
How thick should I slice the bread?
Thickness depends on preference! Thick slices hold up great for sandwiches or toasts with spreads, while thinner slices are lovely for crostini or dipping. Just use a sharp serrated knife for clean cuts.
Final Thoughts
This No Knead Bread (Overnight Version) Recipe has a special place in my kitchen and heart. It proves that slow, simple preparation yields breathtakingly delicious bread with minimal fuss. I can’t wait for you to try it, share it, and fall as in love with homemade bread baking as I have. Trust me, once you make this bread, store-bought loaves will feel like a distant memory!
Print
No Knead Bread (Overnight Version) Recipe
- Prep Time: 18 hours
- Cook Time: 40 minutes
- Total Time: 18 hours 40 minutes
- Yield: 1 loaf (about 1.1 pounds)
- Category: Bread
- Method: Baking
- Cuisine: American
Description
This No Knead Bread recipe is a simple, hands-off approach to homemade artisan bread, requiring minimal effort with maximum flavor. Combining just a few basic ingredients, this recipe uses a long overnight fermentation to develop a deliciously crusty loaf with a soft, airy crumb. Perfect for beginners, it requires no kneading and uses a Dutch oven to achieve the ideal crust.
Ingredients
Dry Ingredients
- 3 1/4 cups (425 grams) all-purpose flour
- 2 teaspoons fine sea salt
- 1/2 teaspoon active dry yeast
Wet Ingredients
- 1 1/2 cups warm water (about 110°F)
Instructions
- Mix Ingredients: In a large mixing bowl, stir together the flour, salt, and yeast until well combined. Add the warm water and mix with a wooden spoon or spatula until the dough is evenly incorporated and no large flour streaks remain. The dough will be loose and shaggy, which is expected.
- First Rise: Cover the bowl tightly with plastic wrap or beeswrap, then let the dough rest at room temperature for 12 to 18 hours to ferment and develop flavor.
- Shape the Dough: Transfer the dough onto a well-floured surface. Fold the dough by pulling the outer edges toward the center multiple times until it feels tighter and holds shape, forming a round dough ball. Sprinkle extra flour if sticky. Lightly flour the top and flip it upside down onto parchment paper so the smooth side is up. Shape into an even circle, then loosely cover with plastic wrap and let rest while the oven heats.
- Preheat Oven and Dutch Oven: Place an empty Dutch oven inside your oven and preheat both to 450°F. Heat for 20-30 minutes to ensure the Dutch oven is very hot. Continue to let the dough rest during this time. If the dough spreads, reshape it into a tighter ball prior to baking.
- Bake the Bread: Carefully remove the hot Dutch oven using oven mitts. Lift the parchment paper with the dough and transfer it into the Dutch oven. Cover with the lid and bake for 30 minutes. Then remove the lid and bake for an additional 10-20 minutes until the crust is deeply golden and crispy to your liking.
- Cool and Serve: Remove the bread from the oven, and gently lift it out using the parchment paper to transfer it to a wire cooling rack. Allow the bread to cool completely for at least 30 minutes before slicing. Serve and enjoy your fresh homemade bread!
Notes
- Make sure the water is warm but not hot (about 110°F) to properly activate the yeast without killing it.
- The long fermentation time is key for flavor development, so don’t rush this step.
- Use a Dutch oven with a tight-fitting lid to create steam and achieve a crispy crust.
- Extra flour can be added during shaping to prevent sticking, but avoid adding too much to keep the bread light.
- Letting the bread cool fully before slicing avoids a gummy texture inside.


