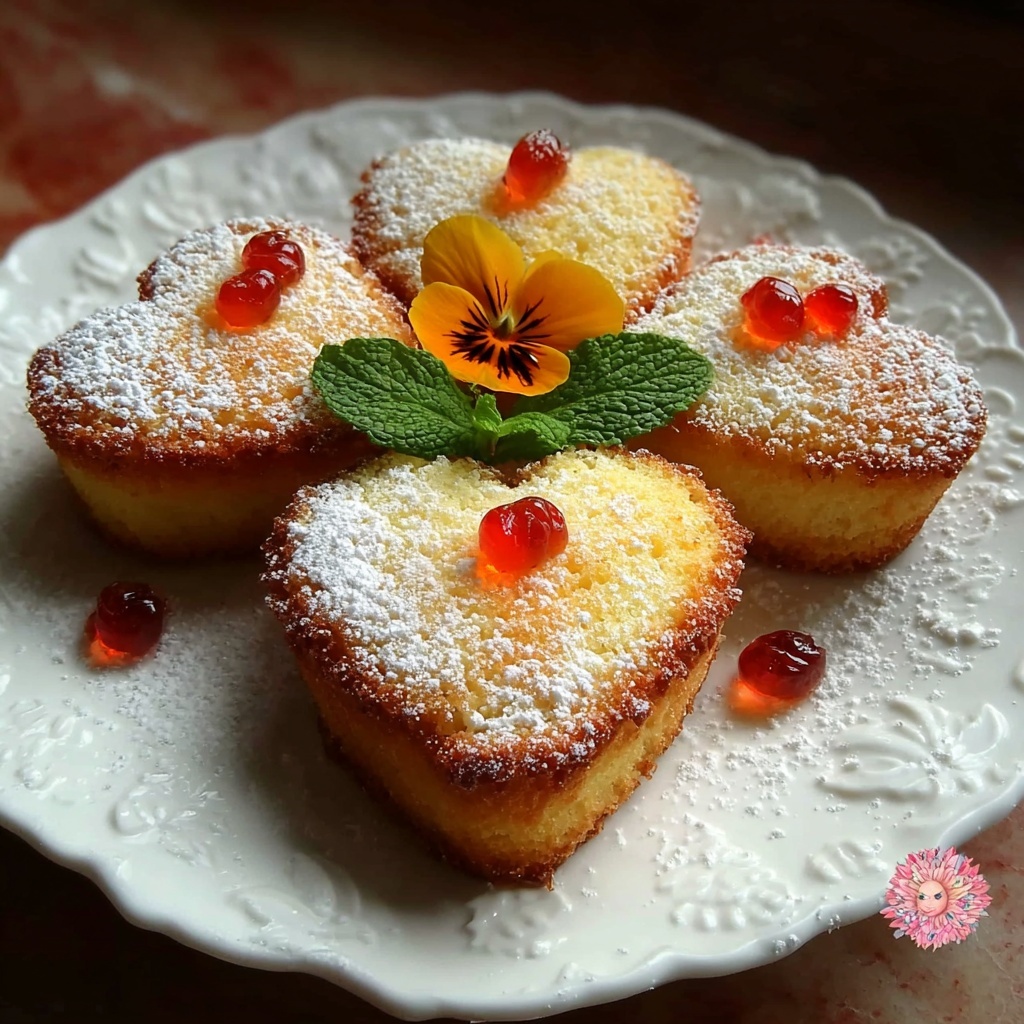
There is something truly magical about homemade treats, and this Печенье в форме сердца с цветочным декором Recipe captures that magic perfectly. These heart-shaped cookies decorated with delicate floral icing designs bring both charm and sweetness to any occasion. With simple ingredients and careful steps, you’ll create a visually stunning and delicious dessert that feels as warm and inviting as a hug from a dear friend. Whether you’re baking for a special celebration or just because, this recipe will become one of your treasured favorites.
Ingredients You’ll Need
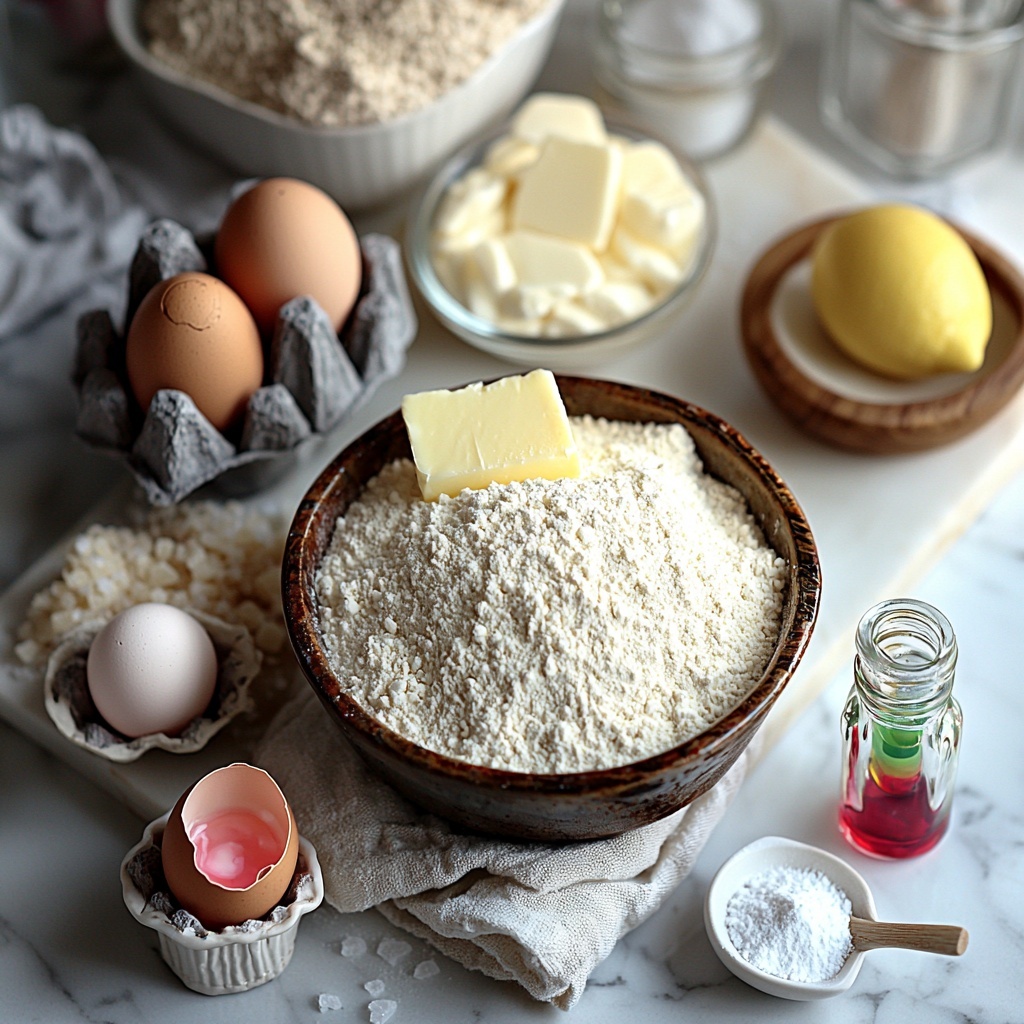
The beauty of this recipe lies in its simplicity—each ingredient plays an essential role in creating the perfect balance of flavor, texture, and delightful color. From the buttery richness of the dough to the vibrant hues in the icing, every component is thoughtfully chosen to help you craft these heart-shaped masterpieces.
- 200 г муки: Provides the structure and body for tender, melt-in-your-mouth cookies.
- 100 г сливочного масла: Adds richness and helps create a soft, crumbly texture that’s irresistible.
- 80 г сахарной пудры: Sweetens the dough with a fine texture for smooth mixing.
- 1 шт яйцо: Binds the dough ingredients together, ensuring just the right moisture.
- 1 ч.л ванильного экстракта: Infuses subtle warmth and a fragrant aroma that elevates the overall flavor.
- ½ ч.л разрыхлителя: Gives a slight lift, so the cookies stay light and tender.
- щепотка соли: Balances the sweetness and enhances all the other flavors.
- 100 г сахарной пудры (for icing): Essential for making smooth, glossy royal icing for decorating.
- 1 шт яичный белок: The base of the royal icing, providing perfect consistency.
- 1 ч.л лимонного сока: Adds brightness and helps stabilize the icing.
- Несколько капель красного пищевого красителя: Brings beautiful floral hues to your cookie decoration.
- Несколько капель зелёного пищевого красителя: Perfect for painting vivid, natural leaves that complement the flowers.
How to Make Печенье в форме сердца с цветочным декором Recipe
Step 1: Prepare the Dry Ingredients
Start by combining the flour, baking powder, and salt in a mixing bowl. This dry mixture forms the foundation of your cookie dough, ensuring even texture and the right balance of rise for tender cookies that hold their shape beautifully.
Step 2: Cream Butter and Sugar
In a separate bowl, beat the softened butter with powdered sugar until fluffy and light. This step is crucial—it introduces air into the mixture, giving the cookies that buttery melt-in-the-mouth quality we all adore.
Step 3: Add Egg and Vanilla
Whisk in the egg and vanilla extract to the butter-sugar mixture, mixing until fully incorporated. These ingredients impart moisture and delicious flavor, making the dough rich and aromatic.
Step 4: Combine Wet and Dry Mixtures
Gradually fold the flour mixture into the butter mixture, stirring gently to form a smooth dough. Avoid overmixing; you want a dough that’s cohesive but still tender to keep the cookies delicate.
Step 5: Chill the Dough
Wrap the dough tightly in cling film and refrigerate it for 30 minutes. Chilling firms up the dough, making it easier to roll out and helps maintain the cookies’ crisp edges during baking.
Step 6: Roll Out and Cut the Cookies
Lightly flour your work surface and roll the dough out to about 5 mm thickness. Use your heart-shaped cookie cutter to cut shapes and gently transfer them to a parchment-lined baking tray. Taking care here ensures even shapes that bake uniformly.
Step 7: Bake to Perfection
Bake the cookies at 180 °C for 10 to 12 minutes until they develop a delicate golden edge. Once baked, set them aside to cool completely—this cooling step is vital for decorating later without melting your icing.
Step 8: Prepare Royal Icing
Beat the egg white with lemon juice, gradually adding powdered sugar until the icing forms firm peaks. This royal icing will be your edible “paint” for decorating the cookies with stunning floral designs.
Step 9: Color the Icing
Divide the icing into two bowls: tint one with red food coloring for the flowers and the other with green for the leaves. Using vibrant colors brings your cookie decorations to life, evoking the beauty of fresh blooms.
Step 10: Decorate the Cookies
Outline each heart cookie with white royal icing, then flood the inside with the same white icing, allowing it to set slightly. Use the red icing to paint delicate flowers and finish with green frosting for leaves. Patience and a steady hand will make your cookies look like charming little works of art.
Step 11: Let the Icing Set
Allow the royal icing to harden at room temperature until fully dry. This ensures your pretty flower design stays perfect when handling or gifting your cookies.
How to Serve Печенье в форме сердца с цветочным декором Recipe
Garnishes
When serving these heart-shaped beauties, consider adding edible flower petals or a light dusting of powdered sugar to the platter. These subtle touches create an elegant presentation that highlights the delicate floral decor on each cookie.
Side Dishes
Pair these cookies with a warm cup of jasmine tea, a glass of chilled milk, or even a fragrant rose petal-infused lemonade. These beverages complement the floral notes and buttery sweetness of the cookies, making your snack time feel indulgent yet refreshing.
Creative Ways to Present
Present your cookies in pretty gift boxes, tied with pastel ribbons, or arranged on a tiered cake stand for a tea party vibe. You can also place them individually in clear cellophane bags, securing them with custom tags—perfect for gifting and sharing the joy of the Печенье в форме сердца с цветочным декором Recipe with loved ones.
Make Ahead and Storage
Storing Leftovers
Store your decorated cookies in an airtight container at room temperature for up to five days. Keeping them separated with parchment paper prevents sticking and preserves the crisp texture and vibrant icing.
Freezing
If you want to save your creations for later, freeze undecorated cookies in layers separated by parchment paper inside a freezer-safe container. Decorate them after thawing to maintain the freshest appearance and flavor.
Reheating
Since these cookies are best enjoyed at room temperature, simply allow refrigerated cookies to warm up for 15 to 30 minutes before serving. Avoid heating them in the microwave or oven to keep the icing intact and the texture just right.
FAQs
Can I use powdered sugar substitutes for the icing?
Powdered sugar is ideal for royal icing because of its fine texture and ability to set hard. Using substitutes may affect consistency and drying time, so it’s best to stick with powdered sugar for flawless results.
Is it necessary to chill the dough?
Yes, chilling helps the dough firm up, making it easier to work with and preventing excessive spreading during baking, ensuring your heart shapes stay sharp and beautiful.
How do I fix icing that’s too runny?
Add small amounts of powdered sugar gradually until the icing thickens to the desired consistency. Keep stirring well to maintain smoothness without lumps.
Can I make these cookies gluten-free?
While the original recipe uses wheat flour, substituting with a gluten-free flour blend designed for baking may work well. Be sure to check if the blend includes xanthan gum or another binding agent to replicate the texture.
How long does royal icing take to dry completely?
Typically, royal icing can take anywhere from 1 to 3 hours to dry on the surface and up to 24 hours to harden fully depending on humidity. Patience during this stage ensures beautiful, durable decorations.
Final Thoughts
There is a special joy in baking cookies that not only taste incredible but look like edible art. This Печенье в форме сердца с цветочным декором Recipe brings together simplicity, creativity, and love in every bite. I warmly encourage you to try it yourself—whether for a loved one or a delightful personal treat, these charming heart-shaped cookies with their floral designs are sure to brighten your day and anyone’s who enjoys them.
Print
Печенье в форме сердца с цветочным декором Recipe
- Prep Time: 20 minutes
- Cook Time: 12 minutes
- Total Time: 1 hour 27 minutes
- Yield: 20-25 cookies
- Category: Dessert
- Method: Baking
- Cuisine: Russian
Description
Delightfully charming heart-shaped cookies decorated with a vibrant floral icing, perfect for special occasions or gifting. These tender, buttery cookies are baked to a light golden brown and artistically decorated with colorful royal icing for a beautiful and delicious treat.
Ingredients
Cookie Dough
- 200 г муки
- 100 г сливочного масла, мягкого
- 80 г сахарной пудры
- 1 шт яйцо
- 1 ч.л ванильного экстракта
- ½ ч.л разрыхлителя
- щепотка соли
Royal Icing
- 100 г сахарной пудры
- 1 шт яичный белок
- 1 ч.л лимонного сока
- несколько капель красного пищевого красителя
- несколько капель зелёного пищевого красителя
Instructions
- Prepare dry ingredients: В миске смешайте муку, разрыхлитель и щепотку соли, чтобы равномерно распределить разрыхлитель и соль в тесте.
- Cream butter and sugar: В другой ёмкости взбейте мягкое сливочное масло с сахарной пудрой до пышности и легкой воздушной текстуры, это обеспечит нежность печенья.
- Add egg and vanilla: Добавьте яйцо и ванильный экстракт, продолжайте взбивать до однородного и гладкого состояния.
- Combine dry and wet ingredients: Постепенно вмешайте сухую мучную смесь в масляную, аккуратно перемешивая до образования однородного теста.
- Refrigerate dough: Заверните тесто в пищевую плёнку и охладите в холодильнике 30 минут, чтобы оно стало плотнее и легче раскатывалось.
- Roll out dough: Раскатайте тесто на поверхности, присыпанной мукой, до толщины примерно 5 мм, чтобы печенье получилось ровным и не слишком толстым.
- Cut shapes and place: Вырежьте формой печенья в виде сердца и аккуратно переложите их на противень, застеленный бумагой для выпечки.
- Bake cookies: Выпекайте при 180 °C в предварительно разогретой духовке в течение 10–12 минут до лёгкого золотистого оттенка. Дайте печенью полностью остыть после выпечки.
- Prepare royal icing: Взбейте яичный белок с лимонным соком, постепенно добавляя сахарную пудру до состояния густой и плотной глазури, которая не будет растекаться.
- Color the icing: Разделите глазурь на две части, одну окрасьте красным пищевым красителем, вторую — зелёным.
- Outline cookies: Переложите белую глазурь в кондитерский мешок и аккуратно обведите контур каждого печенья для создания четкой границы.
- Fill cookies: Заполните внутреннюю часть печенья белой глазурью и дайте ей слегка подсохнуть для лучшего сцепления с последующим декором.
- Decorate flowers: Используя красную глазурь, нарисуйте цветок в центре печенья, а зелёной глазурью добавьте листья вокруг цветка для красивого завершения декоративного оформления.
- Let icing set: Оставьте печенье при комнатной температуре до полного застывания глазури, чтобы рисунки сохранили форму и не деформировались.
Notes
- Сливочное масло должно быть мягким, но не растопленным, для правильной текстуры теста.
- Если глазурь слишком жидкая, добавьте еще немного сахарной пудры, чтобы достичь нужной густоты.
- Для ярких и стойких цветов используйте качественные пищевые красители.
- Охлаждение теста делает раскатку и вырезание форм гораздо удобнее и предотвращает деформацию печенья при выпечке.
- Храните печенье в герметичном контейнере, чтобы сохранить свежесть и хрустящую текстуру.

