
There is something genuinely magical about the Salted Honey Pie Recipe that brings together the silky smoothness of honey custard, the perfect buttery flakiness of the pie crust, and a delightful touch of flaky sea salt on top. This dessert isn’t just sweet; it’s a symphony of textures and flavors that dance on your palate, making every bite a moment to savor. It’s simple to make, yet impressively elegant—ideal for sharing at any gathering or indulging in a cozy night at home.
Ingredients You’ll Need
Ingredients You’ll Need
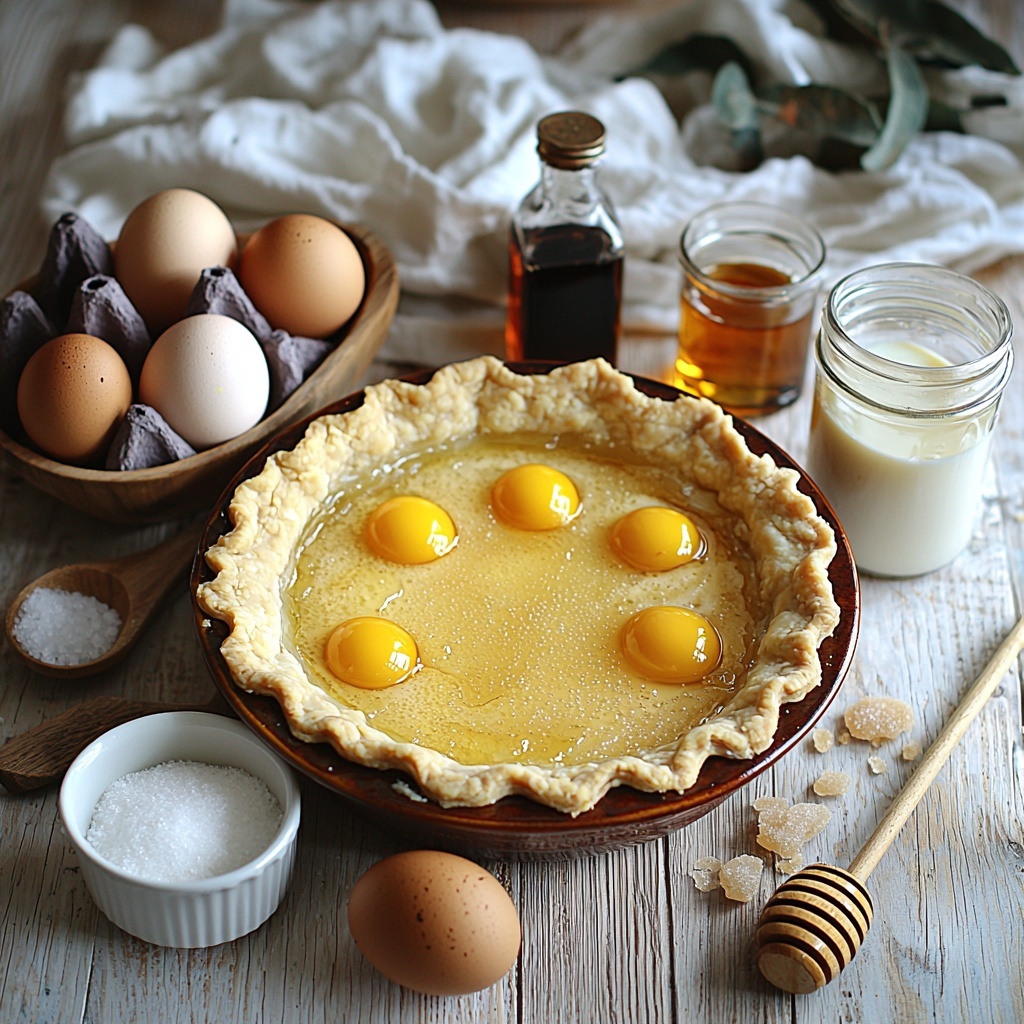
These ingredients might be straightforward, but each one plays a crucial role in creating the perfect Salted Honey Pie Recipe. From the rich cream to the warm honey and that little pinch of salt, every component contributes to the pie’s luscious taste, creamy texture, and golden appeal.
- Deep dish 8-inch or 9-inch pie crust: Choose refrigerated or homemade for the ideal flaky base that holds the custard beautifully.
- 4 large egg yolks, lightly beaten: Provides richness and helps thicken the custard for that silky mouthfeel.
- 2 1/2 cups heavy whipping cream: Adds creaminess and volume, making the filling luxuriously smooth.
- 2/3 cup packed light brown sugar: Brings caramel notes that pair perfectly with honey’s floral sweetness.
- 1/3 cup sifted cornstarch: Essential for thickening the custard without altering its texture.
- 1/2 teaspoon salt: Balances the sweetness and enhances flavor depth.
- 1/2 cup honey: The star sweetener that lends warmth and complexity to the pie.
- 2 teaspoons vanilla extract: Adds a soft aromatic layer that complements honey’s natural essence.
- Flaky sea salt for sprinkling: Provides a crunchy salty finish that makes each bite unforgettable.
How to Make Salted Honey Pie Recipe
Step 1: Prepare the Pie Crust
Start by placing your chilled pie crust into a deep dish pie pan and return it to the fridge while you make the custard filling. This step keeps the crust firm and flaky, ready to hold that luscious custard without getting soggy. For a little extra sweetness and crunch, you can sprinkle some sugar on the crust before baking, which gives a delightful textured top once baked.
Step 2: Heat the Cream Mixture
In a medium saucepan set over medium heat, whisk together heavy cream, brown sugar, sifted cornstarch, and salt. Stir continuously as the mixture heats, bringing it slowly to a rolling boil. This is when the magic begins—the aroma of caramelizing sugar fills the kitchen, and the mixture thickens ever so slightly, promising a rich, creamy filling.
Step 3: Temper the Eggs
Remove the saucepan from the heat before adding your egg yolks. To prevent scrambling, slowly whisk a small amount of the hot cream mixture into the beaten egg yolks until smooth and combined, then gradually stir this back into the saucepan. This technique ensures a silky custard with no lumps.
Step 4: Combine the Mixture
Return the saucepan to low heat and stir in the honey and vanilla extract. Keep stirring gently until everything is fully incorporated into a smooth, creamy custard that carries the warmth and depth of honey along with a fragrant vanilla hint. The filling is thick, glossy, and radiates a pale golden glow.
Step 5: Fill the Pie Crust
Pour the warm custard carefully into the chilled crust, spreading it evenly to avoid air pockets. This thick mixture should settle nicely, filling every crevice and promising a sumptuous bite once baked and set.
Step 6: Bake the Pie
Place your pie in a preheated oven at 375°F (190°C) and bake for 40 to 45 minutes. Watch as the filling bubbles and turns golden with a slight jiggle that will firm up after cooling. Keep an eye on the crust edges, which should develop a lovely brown color without overbaking the custard, which could lead to a grainy finish.
Step 7: Cool and Set
Let the pie cool at room temperature until it starts to set, then chill it thoroughly in the refrigerator. The cooling stage is essential for the custard to fully firm up and develop that melt-in-your-mouth texture you crave in a Salted Honey Pie Recipe.
Step 8: Finish with Sea Salt
Just before serving, sprinkle flaky sea salt generously over the top. This final flourish introduces a crunchy, savory surprise that enhances the honey’s sweetness, elevating every forkful into a balanced and unforgettable treat.
Step 9: Serve and Enjoy
Slice your pie into 8 to 10 generous portions and serve chilled. The harmony of the smooth custard, flaky crust, and salty crunch makes this pie a definite showstopper at any table.
How to Serve Salted Honey Pie Recipe
Garnishes
To highlight the Salted Honey Pie Recipe’s complex flavors, add a light dusting of powdered sugar or a few edible flower petals on top. A dollop of freshly whipped cream can also complement the richness and contrast the salty finish beautifully.
Side Dishes
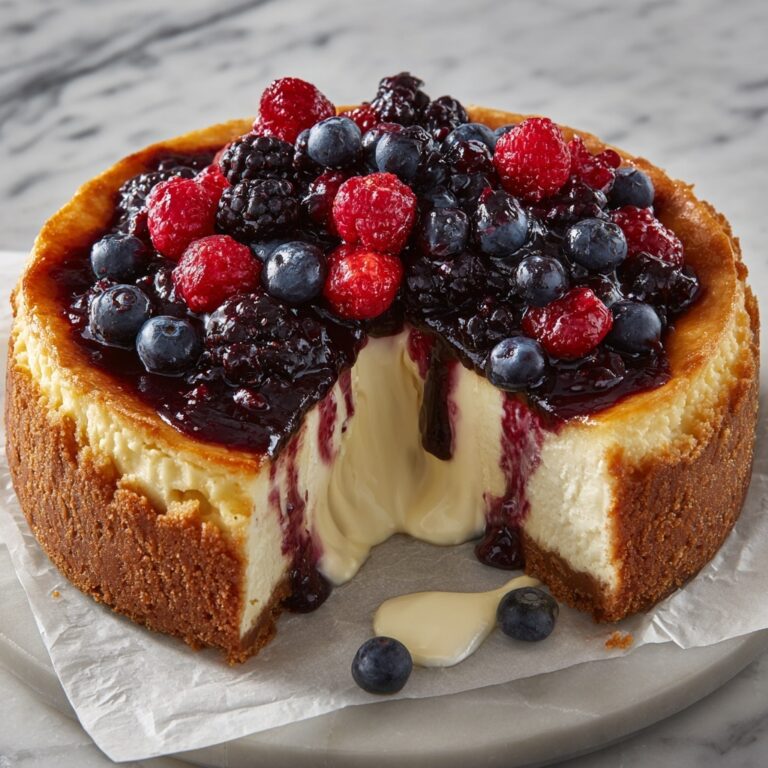
Pairing your pie with fresh berries or a small scoop of vanilla bean ice cream offers a vibrant contrast in temperature and flavor, balancing the pie’s richness with bright, tangy freshness that feels light and refreshing.
Creative Ways to Present
For a modern twist, try serving individual mini Salted Honey Pies in ramekins topped with delicate toasted nuts or a drizzle of lavender-infused honey. It’s a lovely way to impress guests with presentation while enjoying this classic dessert in a unique format.
Make Ahead and Storage
Storing Leftovers
Leftover Salted Honey Pie tastes just as amazing the next day! Simply cover it tightly with plastic wrap and store in the refrigerator. It will keep fresh and delicious for up to 3 days, with the flavors melding beautifully over time.
Freezing
If you want to make this pie ahead of time, you can freeze it after baking and cooling. Wrap the pie securely in plastic wrap and aluminum foil, then freeze for up to 2 months. Thaw it overnight in the refrigerator before serving to maintain its perfect custard texture.
Reheating
This pie is best enjoyed chilled, so reheating is generally not recommended. However, if you prefer it slightly warmed, place individual slices in a low-temperature oven (around 300°F) for just a few minutes, avoiding overcooking to keep the custard smooth and creamy.
FAQs
Can I use a different sweetener instead of honey in this Salted Honey Pie Recipe?
Honey provides a unique floral sweetness and viscosity that is hard to replicate, but you can experiment with maple syrup or agave nectar. Keep in mind these will alter the flavor profile slightly, so the pie won’t taste exactly like the original Salted Honey Pie Recipe.
Do I need to blind bake the pie crust for this recipe?
The recipe works well without blind baking as the filling is thick and custardy, but chilling the crust beforehand is crucial to prevent sogginess. If you prefer extra firmness, you can blind bake the crust for 10 minutes before adding the filling.
Why is tempering the eggs important in this recipe?
Tempering prevents the egg yolks from cooking too quickly and scrambling when added to the hot cream mixture. This technique ensures a smooth, silky custard that is the hallmark of a great Salted Honey Pie Recipe.
What type of honey is best to use?
A light floral honey, like clover or acacia, is ideal because it balances sweetness without overpowering the other flavors. Avoid very strong or dark honeys, which can dominate the custard’s delicate taste.
Can I make this pie gluten-free?
Absolutely! Use a gluten-free pie crust in place of traditional crust. Make sure it’s sturdy enough to hold the custard, and follow the same chilling and baking steps to achieve that perfect Salted Honey Pie Recipe experience.
Final Thoughts
Making the Salted Honey Pie Recipe is like creating a little slice of happiness that brings warmth and comfort with each bite. Its combination of creamy custard, crispy crust, and that final salty punch simply can’t be beaten. I truly encourage you to give this recipe a try — once you do, it’s bound to become a favorite that you come back to again and again.
Print
Salted Honey Pie Recipe
- Prep Time: 20 minutes
- Cook Time: 45 minutes
- Total Time: 1 hour 5 minutes plus chilling time
- Yield: 8 servings
- Category: Dessert
- Method: Baking
- Cuisine: American
Description
Salted Honey Pie is a luscious dessert featuring a creamy honey-infused custard nestled in a flaky deep-dish pie crust. This recipe balances the natural sweetness of honey with a touch of flaky sea salt, enhancing the rich caramel flavors and providing a delightful contrast of textures and tastes. Perfectly baked to a golden finish and served chilled, this pie offers a smooth, velvety dessert experience with a sophisticated salty-sweet twist.
Ingredients
Pie Crust
- 1 refrigerated or homemade deep dish 8-inch or 9-inch pie crust
Custard Filling
- 4 large egg yolks, lightly beaten
- 2 1/2 cups (600 ml) heavy whipping cream
- 2/3 cup (150 g) packed light brown sugar
- 1/3 cup (45 g) cornstarch, sifted
- 1/2 teaspoon salt
- 1/2 cup (120 ml) honey
- 2 teaspoons vanilla extract
Finishing
- Flaky sea salt, for sprinkling on top
Instructions
- Prepare the Pie Crust: Place the refrigerated or homemade pie crust into a deep dish 8- or 9-inch pie pan. Chill it in the refrigerator while preparing the filling to ensure the crust stays flaky and structurally sound to hold the custard. Optionally, sprinkle sugar over the crust for a sweet, crunchy finish once baked.
- Heat the Cream Mixture: In a medium saucepan over medium heat, combine heavy whipping cream, light brown sugar, sifted cornstarch, and salt. Stir constantly while heating to prevent lumps, bringing the mixture to a rolling boil. Continue to stir as the mixture thickens slightly, allowing the aroma of caramelizing sugar to develop.
- Temper the Eggs: Remove the saucepan from heat. To prevent scrambling the eggs, gradually whisk small amounts of the hot cream mixture into the lightly beaten egg yolks until smooth and fully combined.
- Combine the Mixture: Pour the tempered egg yolk mixture back into the saucepan with the remaining cream mixture. Stir well to combine thoroughly. Add the honey and vanilla extract, stirring until the custard is smooth and has a warm caramel flavor.
- Fill the Pie Crust: Pour the warm, not hot, custard filling evenly into the chilled pie crust. Spread carefully to avoid trapping air pockets. The filling will be thick, creamy, and pale golden in color.
- Bake the Pie: Preheat the oven to 375°F (190°C). Bake the pie for 40 to 45 minutes until the filling bubbles and the top has a golden brown color. The crust edges should also brown nicely. The pie may jiggle slightly when removed from the oven but will firm up as it cools. Be careful to avoid overbaking, which can make the texture grainy.
- Cool and Set: Allow the pie to cool at room temperature until it begins to set, then refrigerate it until completely chilled and firm. This chilling step helps the custard develop a luscious, smooth texture and rich flavor.
- Finish with Sea Salt: Just before serving, generously sprinkle flaky sea salt over the pie’s surface. The salt adds a crunchy texture and enhances the honey’s sweetness for a complex flavor profile.
- Serve and Enjoy: Slice the pie into 8 to 10 portions. Serve chilled to enjoy the perfect balance of smooth honey custard, flaky crust, and the savory finish from the sea salt.
Notes
- Chilling the pie crust before filling helps maintain its flakiness and structural integrity against the custard.
- Tempering the eggs carefully prevents curdling and ensures a smooth custard texture.
- Do not overbake to keep the custard creamy and avoid graininess.
- Flaky sea salt enhances the flavor contrast and adds a textural element to the dessert.
- Serving the pie chilled allows the custard to fully set and flavors to meld beautifully.


