“`html
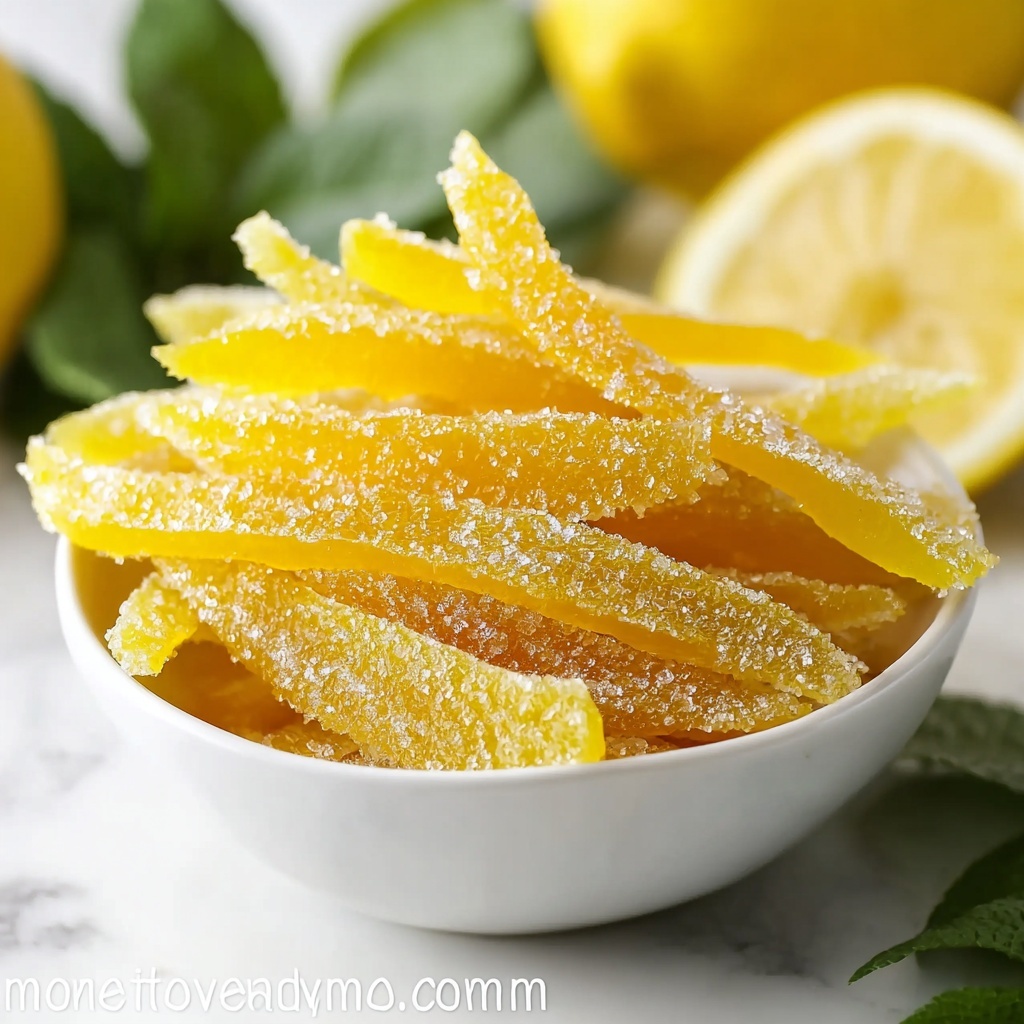
There is something truly magical about creating your own sweet treat from the simplest ingredients, and this Candied Lemon Peel Recipe captures that wonder perfectly. With just lemons, sugar, and water, you’ll transform humble citrus peels into delightfully tender, sparkling morsels bursting with zesty brightness balanced by sugary sweetness—perfect for snacking, baking, or garnishing. Once you make this recipe, you’ll wonder how you ever lived without having these sweet little gems on hand!
Ingredients You’ll Need
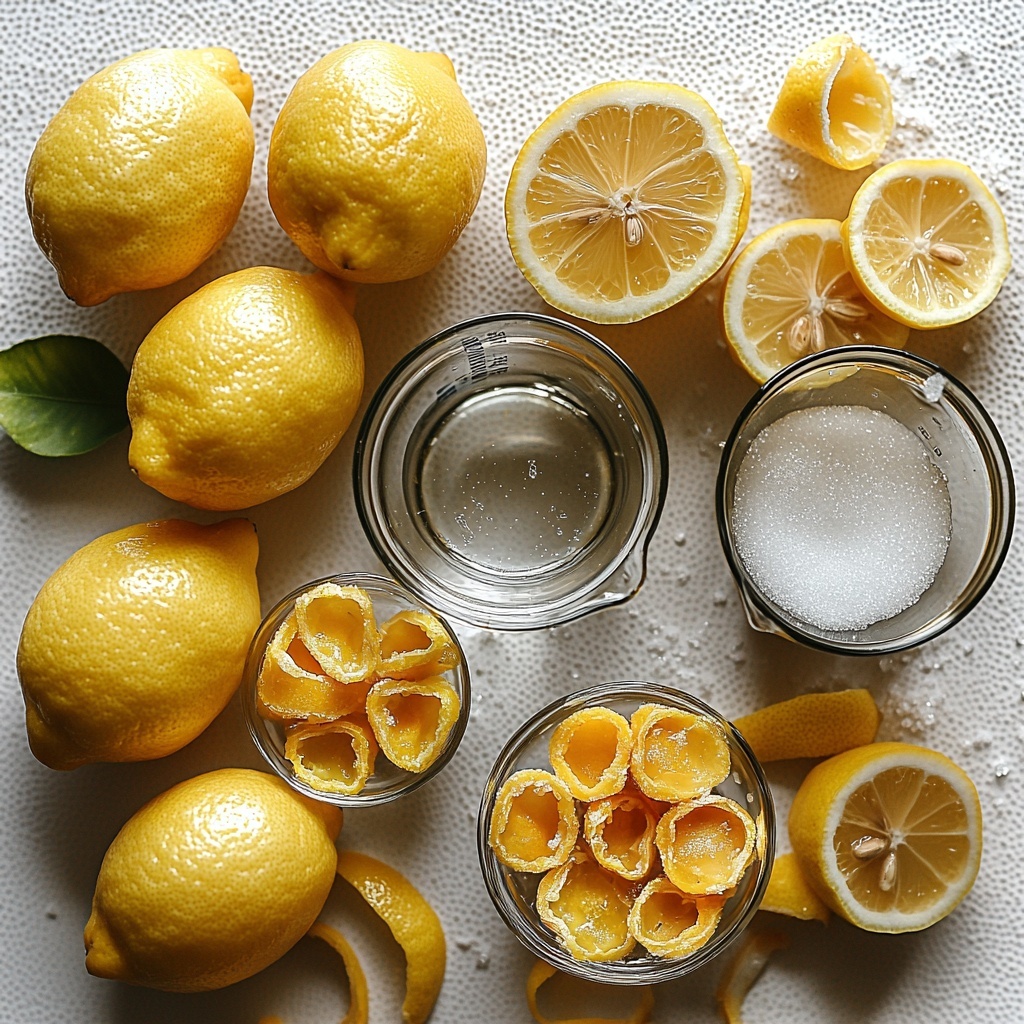
These ingredients are delightfully straightforward but each plays a vital role in achieving that perfect balance of sweet, tart, and tender in your candied lemon peels. Let’s take a quick look at what you’ll need and how they contribute:
- 4 lemons: Fresh and fragrant, the star of the dish whose peel will become the candy.
- 2 cups sugar: This provides the essential sweetness and helps preserve the peel’s soft texture.
- 1 cup water: Serves as the syrup base, gently cooking the peels and infusing them with sweetness.
How to Make Candied Lemon Peel Recipe
Step 1: Prepare the Lemons
Start by washing your lemons thoroughly to remove any residues. Cut each lemon into quarters to make it easier to remove the flesh and pith, leaving behind just the peel. This step ensures your final product has that clean, bright lemon flavor without bitterness.
Step 2: Remove the Flesh and Pith
Carefully pull out the lemon flesh and the white pith inside the peels. The pith can be bitter, so stripping it away is key to getting that perfect sweet-tart balance in your candied lemon peels.
Step 3: Make the Sugar Syrup
In a pot, combine your 2 cups of sugar with 1 cup of water and bring it to a gentle boil. This simple syrup will slowly infuse into the peels, softening their texture while coating them with sweetness—this is where the magic begins!
Step 4: Simmer the Lemon Peels
Add the prepared lemon peels to the pot and let them simmer uncovered for about 45 minutes. This slow simmer allows the peels to absorb the syrup fully, becoming tender and translucent without losing their citrus zing.
Step 5: Drain and Cool
Once simmered, drain the lemon peels and let them cool completely. This cooling period helps the peels set up properly, making them easier to handle before the final sugar coating.
Step 6: Coat in Sugar
After the peels are cool, generously coat them in extra granulated sugar. This final step adds a delightful sparkle and crunch that balances perfectly with the chewy candy beneath.
Step 7: Store Properly
To keep your candied lemon peels fresh and flavorful, store them in an airtight container at room temperature. This ensures they remain perfectly sweet and chewy for days to come.
How to Serve Candied Lemon Peel Recipe
Garnishes
Candied lemon peels make stunning garnishes for desserts such as cakes, tarts, or ice cream. Their vivid yellow twist adds both a pop of color and a hint of zesty sweetness that elevates any dish visually and flavor-wise.
Side Dishes
Enhance a cheese board or charcuterie tray by throwing in a handful of these candied peels. They pair brilliantly with creamy cheeses or sharp meats, providing a refreshing contrast that brightens every bite.
Creative Ways to Present
Try chopping the candied lemon peels and stirring them into yogurt or oatmeal for an unexpected burst of flavor. They also make fantastic cocktail garnishes or can be dipped in dark chocolate for a luxurious treat. The possibilities are endless and delicious!
Make Ahead and Storage
Storing Leftovers
If you have leftovers, store your candied lemon peels in an airtight container at room temperature for up to 3-4 days. Proper sealing is key to maintaining their soft texture and sugary coating.
Freezing
You can freeze candied lemon peels if you want to keep them for longer. Place them in a sealed freezer bag or container, and they’ll keep well for several months without losing their delightful chewiness and flavor.
Reheating
Because these peels are best enjoyed as they are, reheating is generally unnecessary. However, if you want to soften them slightly before use, a brief warm-up in a low oven or microwave can help refresh their texture without melting the sugar coating.
FAQs
Can I use organic lemons for this recipe?
Absolutely! Using organic lemons is a great choice since you’re using the peels directly. They typically have fewer pesticides, making your candied peel even cleaner and tastier.
Is it possible to use other citrus fruits?
Yes, you can experiment with oranges, limes, or grapefruits in this Candied Lemon Peel Recipe for different flavors. Each citrus brings its own unique sweetness and tartness, so feel free to get creative!
How long does it take for the lemon peels to become soft?
The 45-minute simmering process is essential to soften the peels sufficiently and infuse them with sweetness. Shortening this time will result in chewier, less tender peels.
Can I reduce the sugar to make it less sweet?
You could reduce the sugar slightly, but keep in mind that sugar acts both as sweetener and preservative here. Too little may affect texture and shelf life.
What is the best way to remove the pith without wasting too much peel?
Using a small, sharp paring knife or your fingers works well to carefully scrape out the pith. Taking your time with this step helps keep the peel intact and avoid any bitter flavors.
Final Thoughts
Making your own candied lemon peel is such a joyful process, and this Candied Lemon Peel Recipe guides you from simple ingredients to a vibrant, sweet treat that will brighten your kitchen and your palate. Whether you enjoy them on their own or as a delightful addition to other dishes, these tender, sparkling peels are sure to become a favorite that you’ll return to again and again—give it a try and see how incredibly rewarding homemade candy can be!
“`
Print
Candied Lemon Peel Recipe
- Prep Time: 15 minutes
- Cook Time: 45 minutes
- Total Time: 1 hour 5 minutes
- Yield: 2 servings
- Category: Snack
- Method: Stovetop
- Cuisine: International
- Diet: Vegetarian
Description
Delightfully sweet and tangy candied lemon peels made by simmering lemon peels in a simple sugar syrup, then coating them in sugar for a perfect citrusy treat or garnish.
Ingredients
Ingredients
- 4 lemons
- 2 cups sugar
- 1 cup water
- Extra sugar for coating
Instructions
- Wash and quarter lemons: Thoroughly wash the lemons to remove any residues, then cut each lemon into quarters to prepare for peeling.
- Remove flesh and pith: Carefully remove the lemon flesh and the white pith from the peels, keeping only the outer peel for candying.
- Prepare sugar syrup: In a pot, combine 2 cups of sugar with 1 cup of water and bring the mixture to a boil to create a syrup.
- Simmer lemon peels: Add the lemon peels to the boiling syrup and reduce heat to a simmer. Let them simmer gently for about 45 minutes until the peels are tender and translucent.
- Drain and cool: Remove the lemon peels from the syrup using a slotted spoon and drain off excess syrup. Allow them to cool completely.
- Coat with sugar: Once cooled, toss the lemon peels in extra sugar to coat them evenly for added sweetness and texture.
- Store properly: Place the candied lemon peels in an airtight container to keep them fresh and enjoy as a sweet snack or garnish.
Notes
- Use organic lemons if possible since the peel is used directly.
- Make sure to remove all the white pith to avoid bitterness.
- The leftover sugar syrup can be reused as a flavored syrup for drinks.
- Store candied peels in a cool, dry place and consume within 2 weeks for best freshness.
- For extra flavor, you can add a cinnamon stick or vanilla bean to the syrup during simmering.


